These are all the keys and their possible values for the article Plexiglas.
These keys will also be in the response of a Get article request, along with the default keys id and creation_datetime.
Note that optional keys as size_custom_width and size_custom_height become mandatory when a custom size is chosen.
| Key |
Possible values |
Datatype |
Optional |
Info |
| number |
An integer. |
Int |
|

Number of copies of your document
|
| copies |
An integer. |
Int |
|
Number of designs/printed sides you're having printed. This is the number of pages in your document(s)..
Please note: this number is multiplied by the quantity, so if you specify a number of 3 for both the quantity and the number of designs, you will receive 3x3=9 prints.
|
| size |
-
a4
A4 size  Final size (after finishing) is A4
-
a3
A3 size (297x420mm)  Final size (after finishing) is A3, 297x420mm 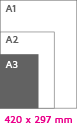
-
a2
A2 size (420x594mm)  Final size (after finishing) is A2, 420x594mm
-
a1
A1 size (594x841mm)  Final size (after finishing) is A1, 594x841mm
-
a0
A0 size (841x1189mm)  Final size (after finishing) is A0, 1189x841mm
-
b2
B2 size  Final size (after finishing) is B2
-
b1
B1 size Final size (after finishing) is B1
- 170x55
-
custom
Custom size  You can specify a different size here (width x height in mm). You enter the final size that must remain after trimming (without bleed) or finishing (folding, binding, etc.) or finishing (folding, binding, etc.)
-
circular
Round (diameter)  You can specify the diameter, from small to large. Enter the final size which remains after cropping, without bleed.
|
String |
|
|
| papertype |
-
plexiglass
Plexiglass 5mm Crystal-clear acrylic panel where the print on the back is printed in a mirror image, this mirroring is automatically provided by our software. After this imprint, it is covered with a white coating to prevent it from shining through. You cannot fold or crease this material.
Update 15-09-2025
The material has now become 2mm thicker, from 3mm to 5mm
Properties: crystal clear acrylic panel 5mm
|
String |
|
Crystal-clear acrylic panel where the print on the back is printed in a mirror image, this mirroring is automatically provided by our software. After this imprint, it is covered with a white coating to prevent it from shining through. You cannot fold or crease this material.
Update 15-09-2025
The material has now become 2mm thicker, from 3mm to 5mm
Properties: crystal clear acrylic panel 5mm
|
| printside |
-
single
Single-sided printing  Only the front is printed. The back remains blank.
-
double
Double-sided printing  Both the front and back are printed.
|
String |
|
|
| cutting |
-
basic
Basic cut out  The document will be cut out on the chosen size
-
contour
Contour cut out  Your document will be cut on the contour lines. Please note, this is an "expert" option: it is fairly complex to provide this properly in your file. Deliver your document with a separate layer for the contour lines. Look here for instructions.
The contour lines are visible as a blue line in the preview. If the contour lines have not been delivered correctly, a message will appear. Don't see an error? Then you did well!
Complex figures (many sharp corners/very small forms) are difficult to produce and therefore this is not possible. 
-
pattern
Patroonranden voor borden 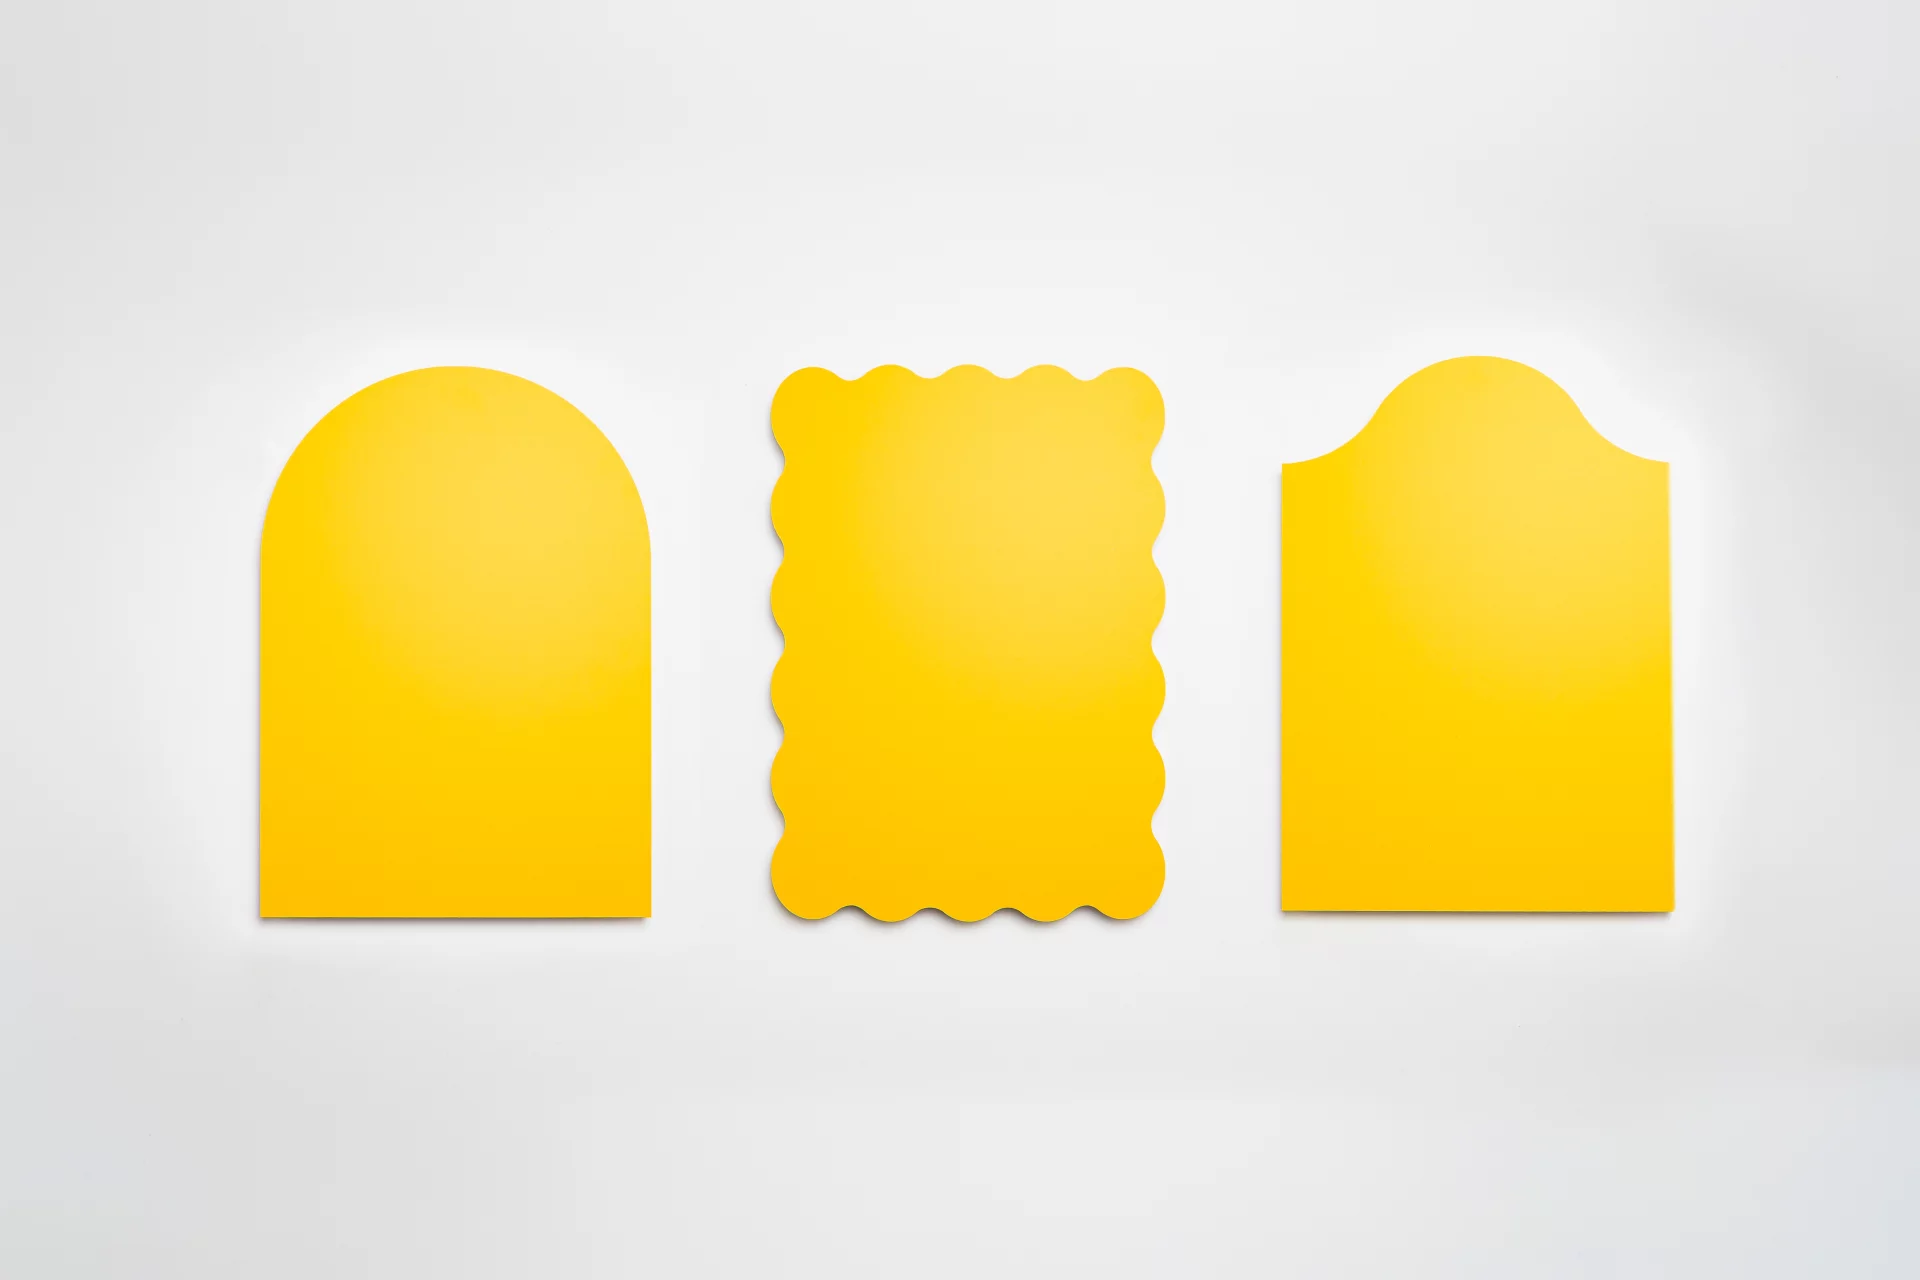 The outer edge of the board is cut into a decorative pattern. We use robotic cutters to ensure a smooth and precise finish. You can choose from 3 different patterns.
|
String |
|
|
| accessory_item |
- none
-
easel
Stand-up (with hanging option) 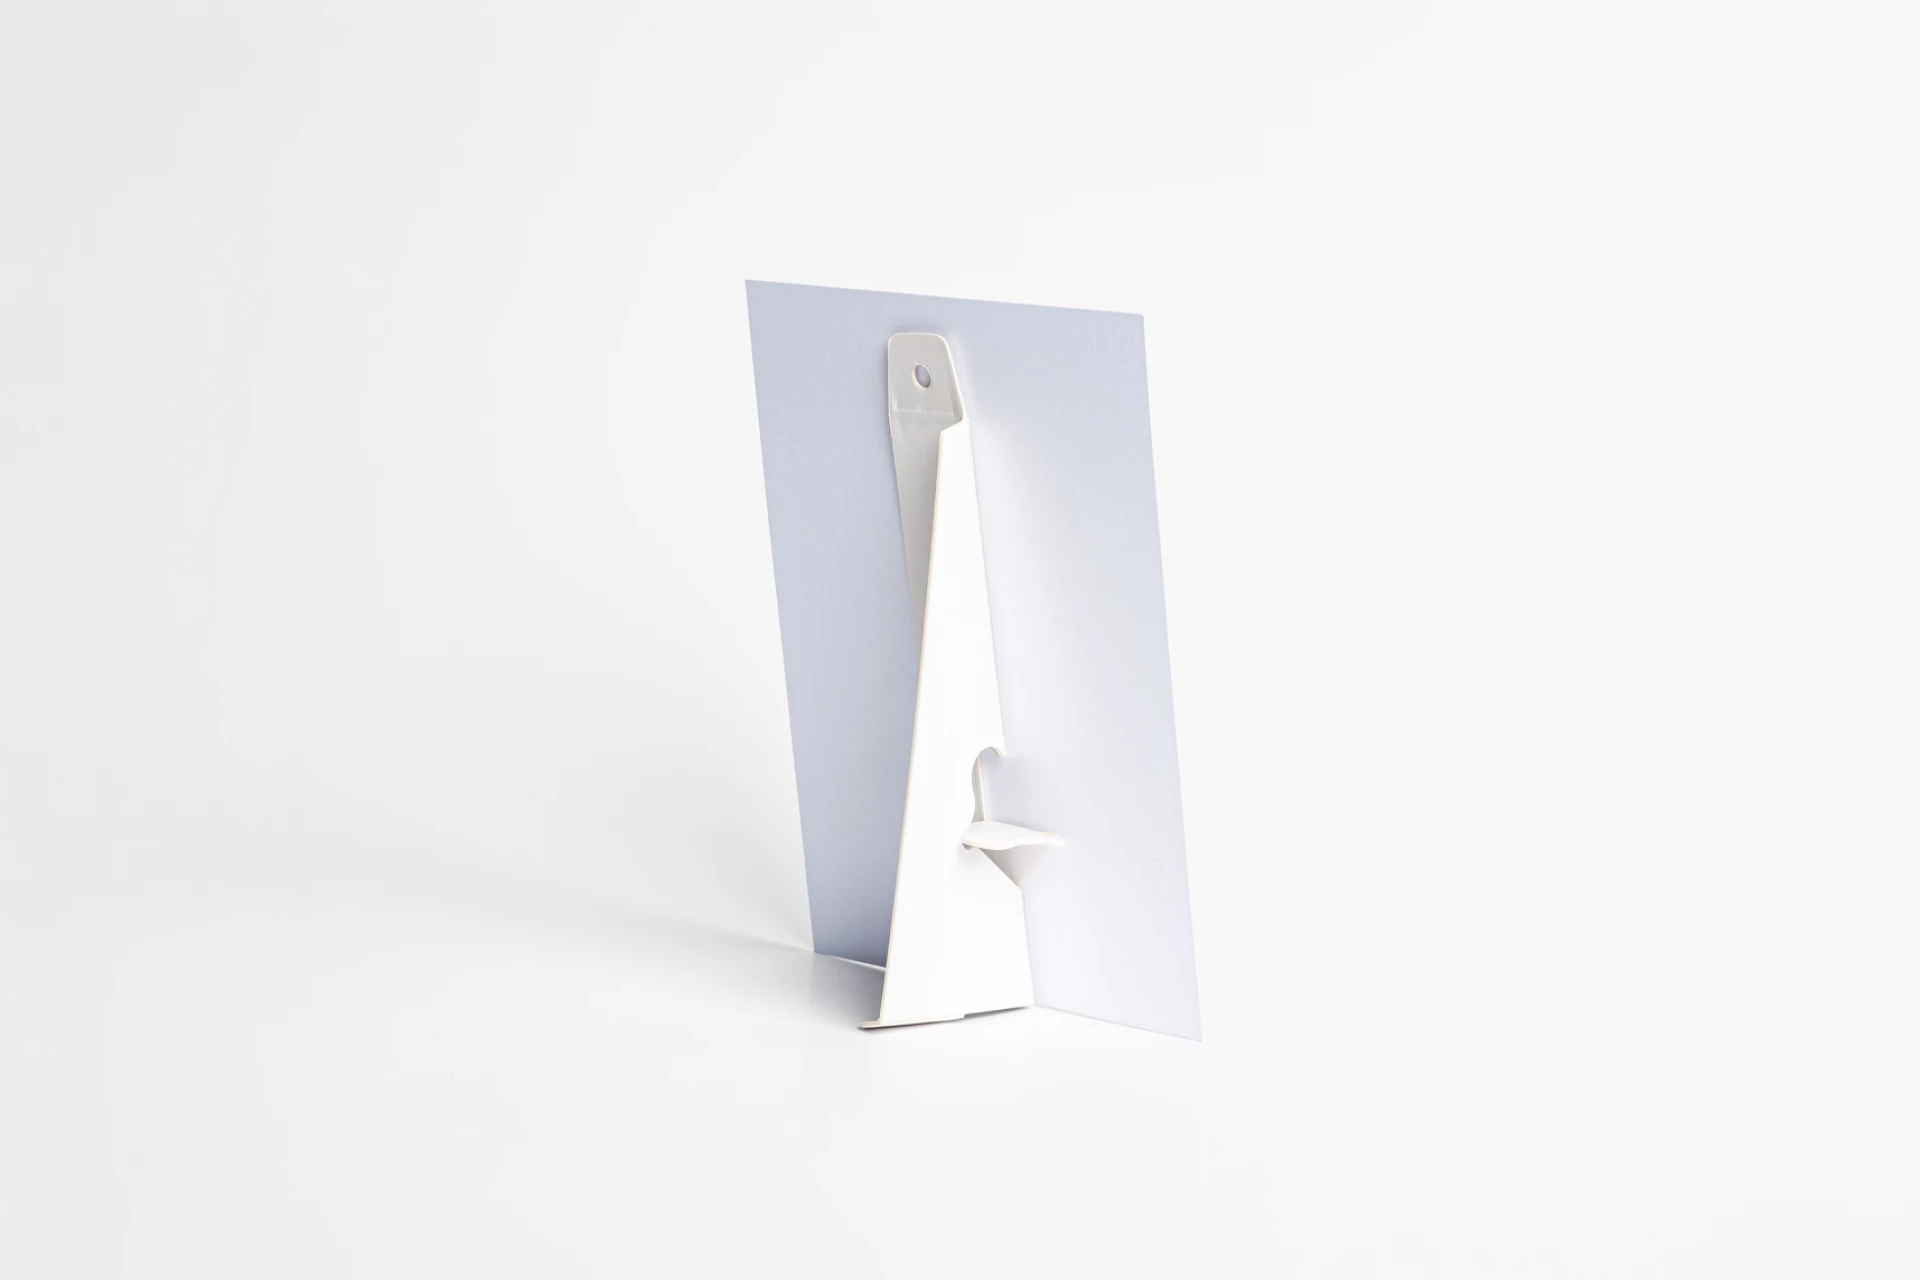 Stand-up to freely put up or hang a firm panel or card. Depending on the chosen size the matching stand-up will be delivered. The stand-up is multi-functional, it can be used as a footrest but also offers the possibility to hang with one punch hole.
-
table_stand
Table stand (stainless steel) 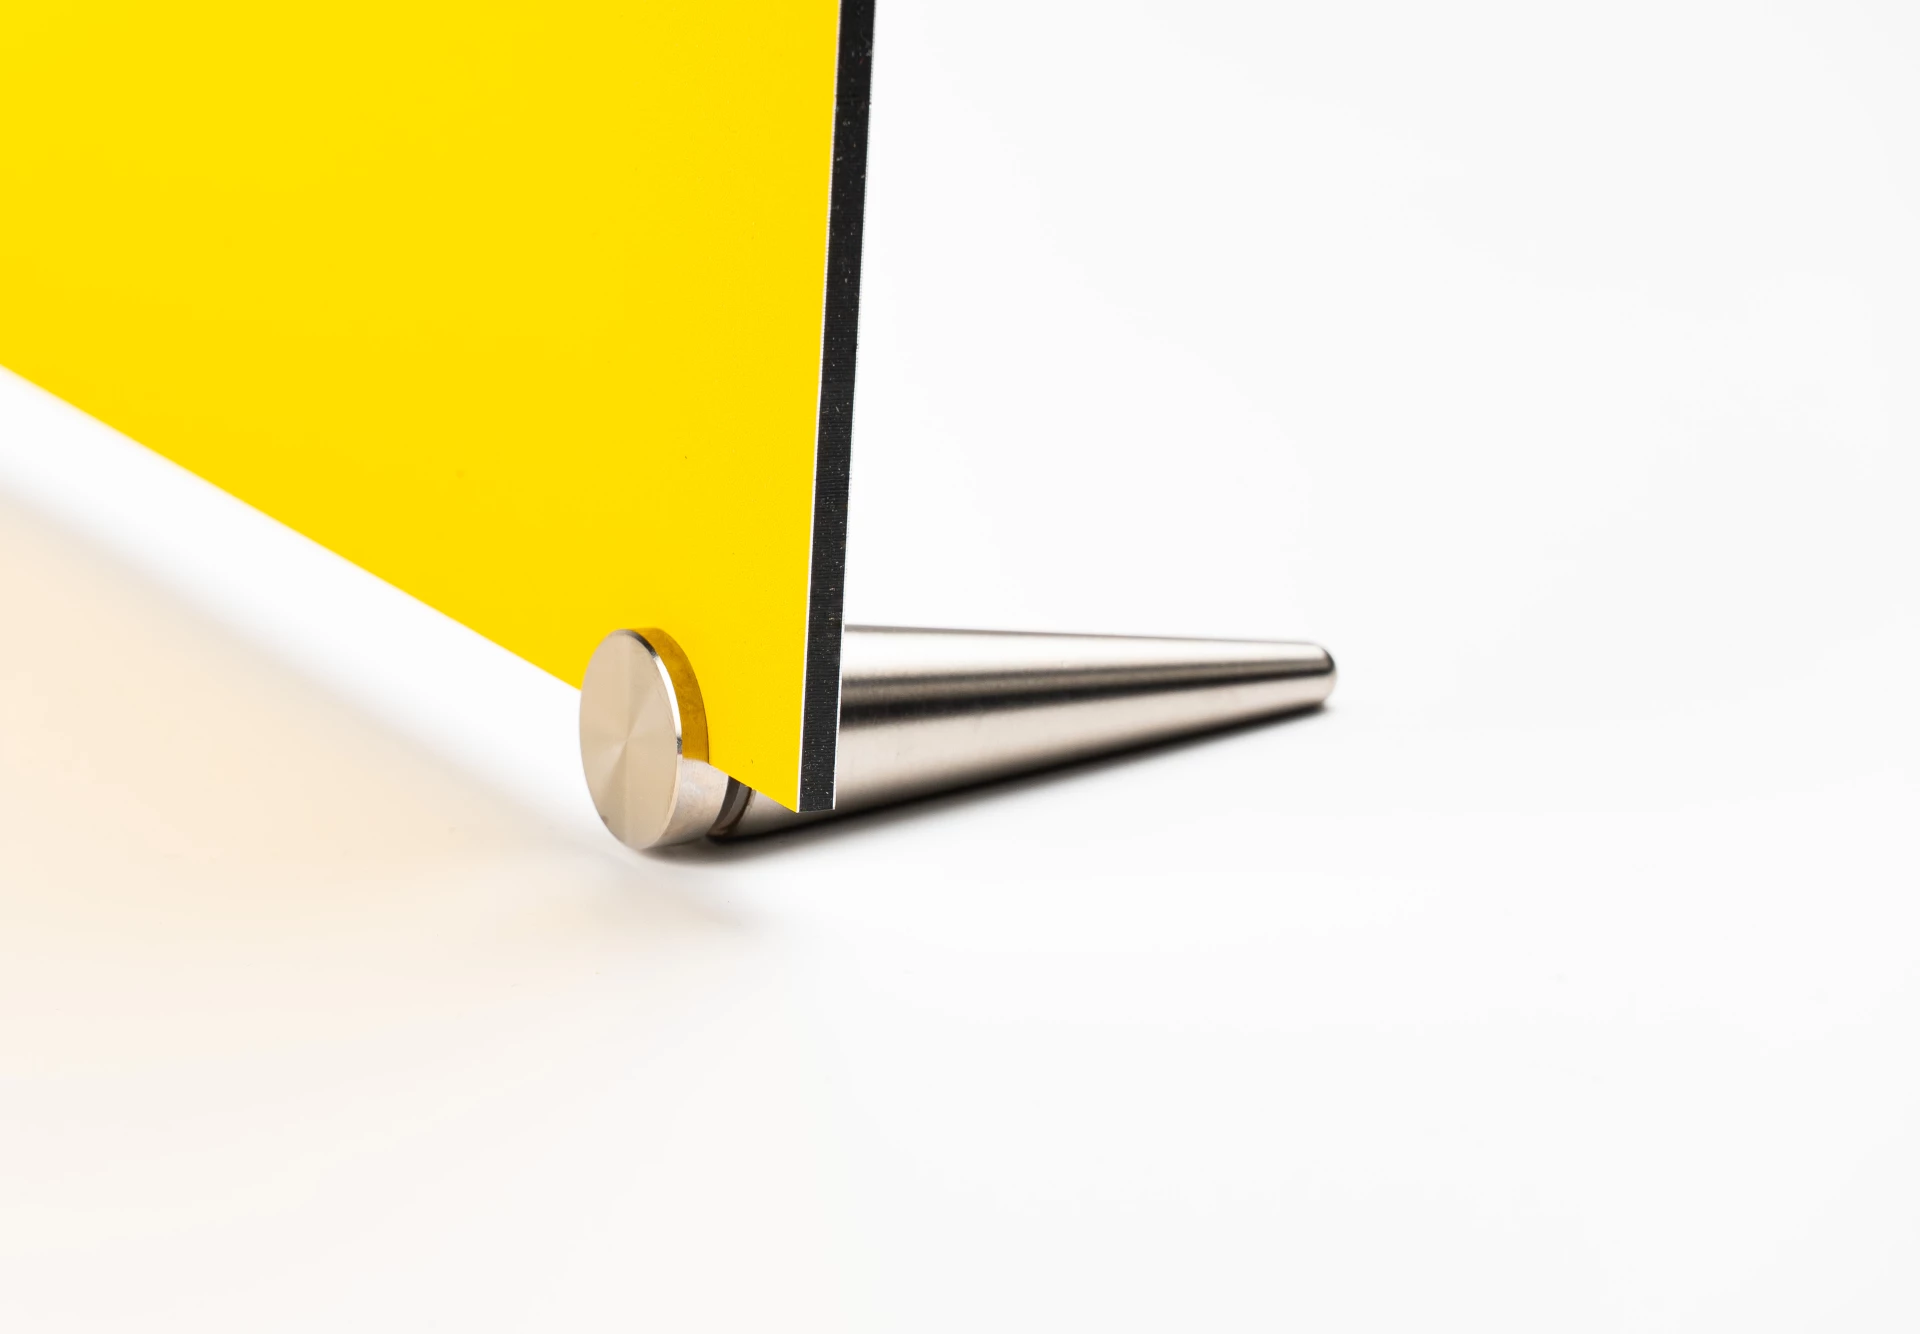 You will receive 2 oval-shaped silver-colored 'feet' which are easy to attach (no mounting holes are required, but the board must be at least 3mm thick).
You mount the feet at the bottom of the panel and clamps by means of the lock nut (note that you must turn this in the opposite direction than you are used to). For sufficient strength, we recommend this up to A3 size.
-
velcro
Velcro fasteners (circles) 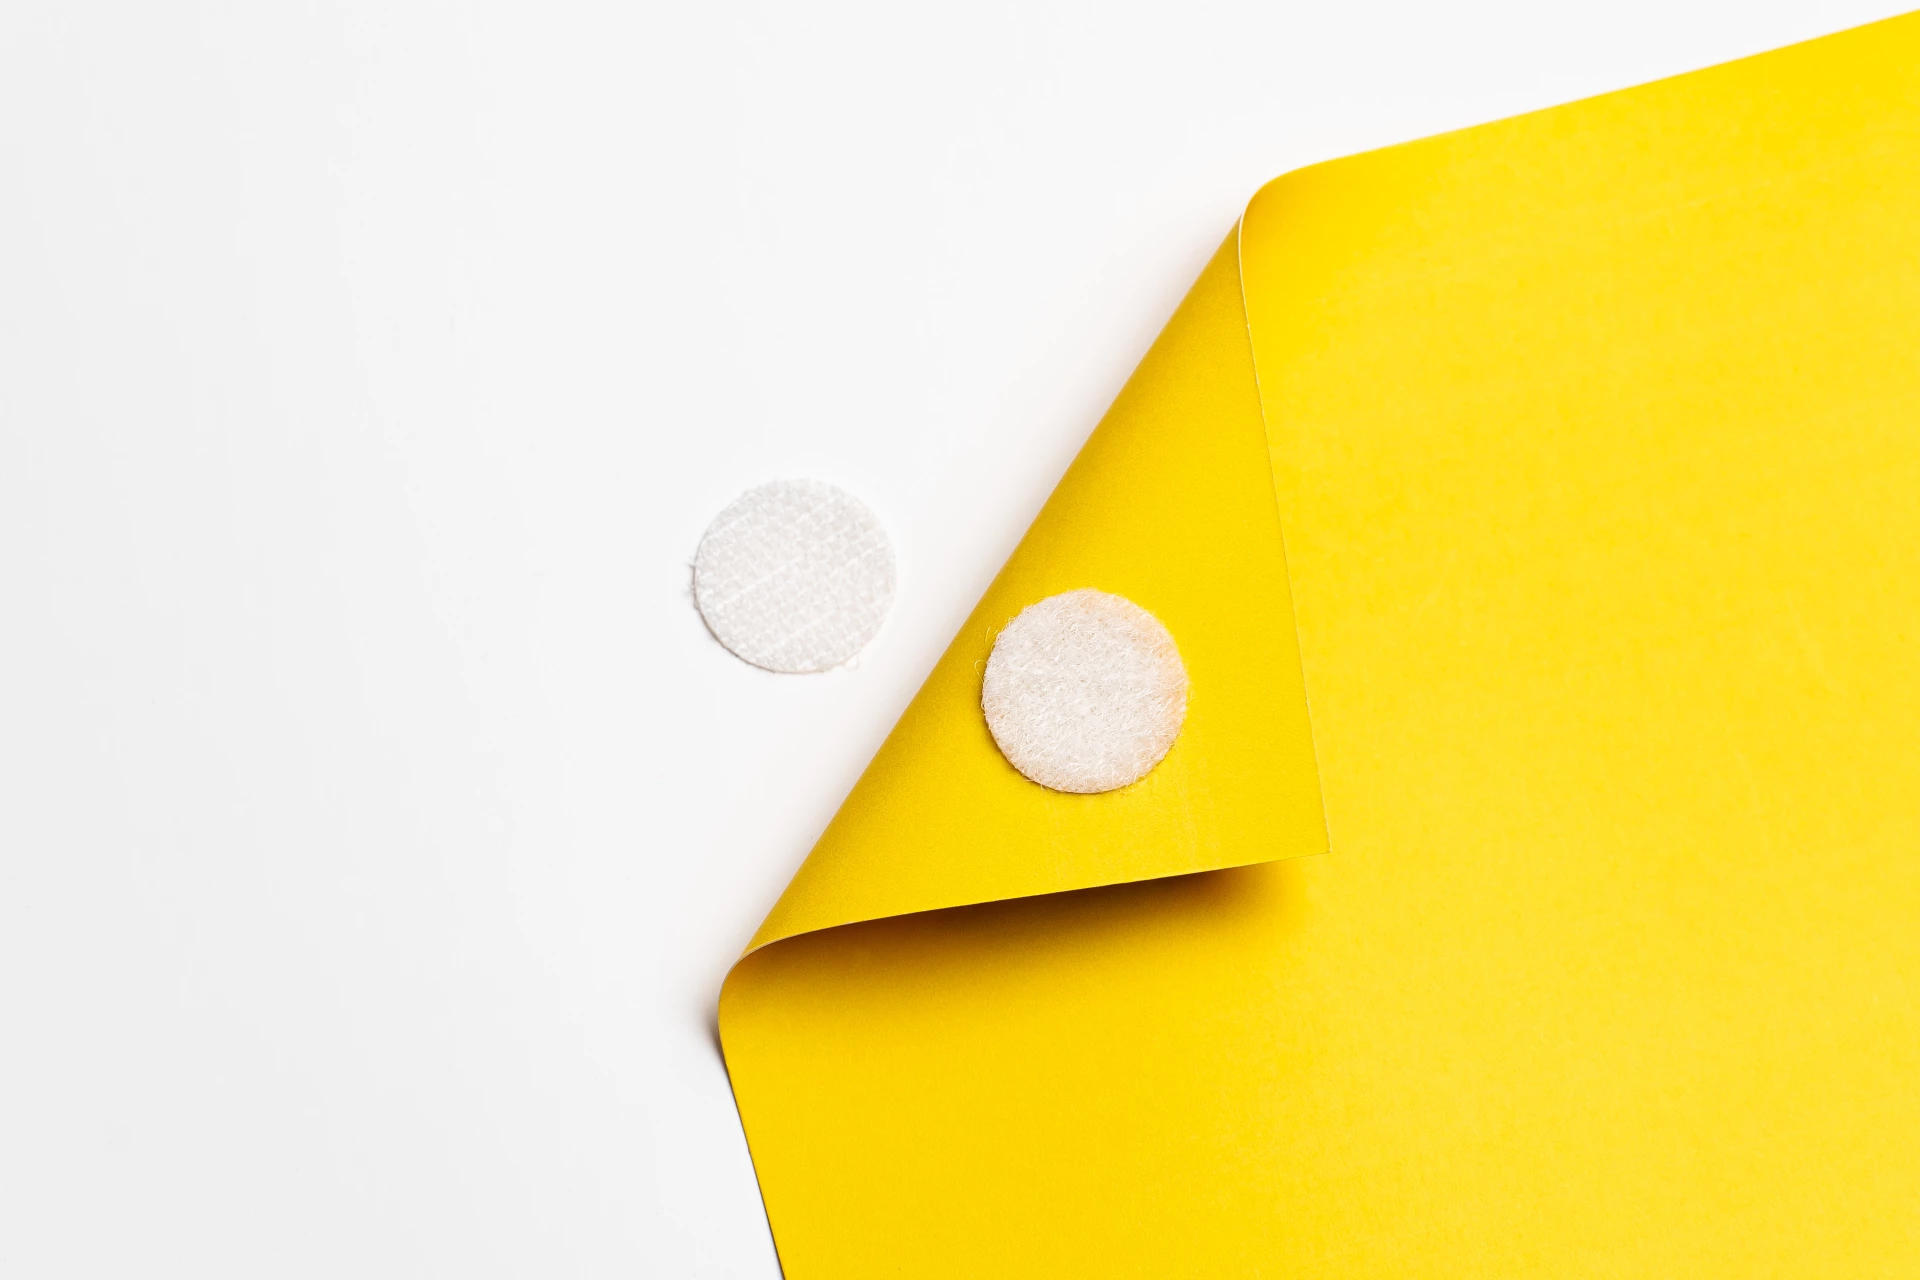 With the self-adhesive Velcro circles you can easily mount the poster on smooth surfaces without leaving permanent damage. The Velcro circles are white in color and self-adhesive. You will receive a set for the 4 corner points (4x soft circle, 4x coarse circle). 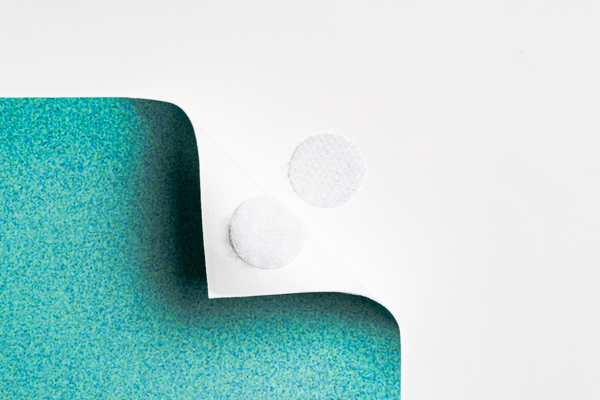
-
tape_double_sided
Double-sided tape (4 strips) 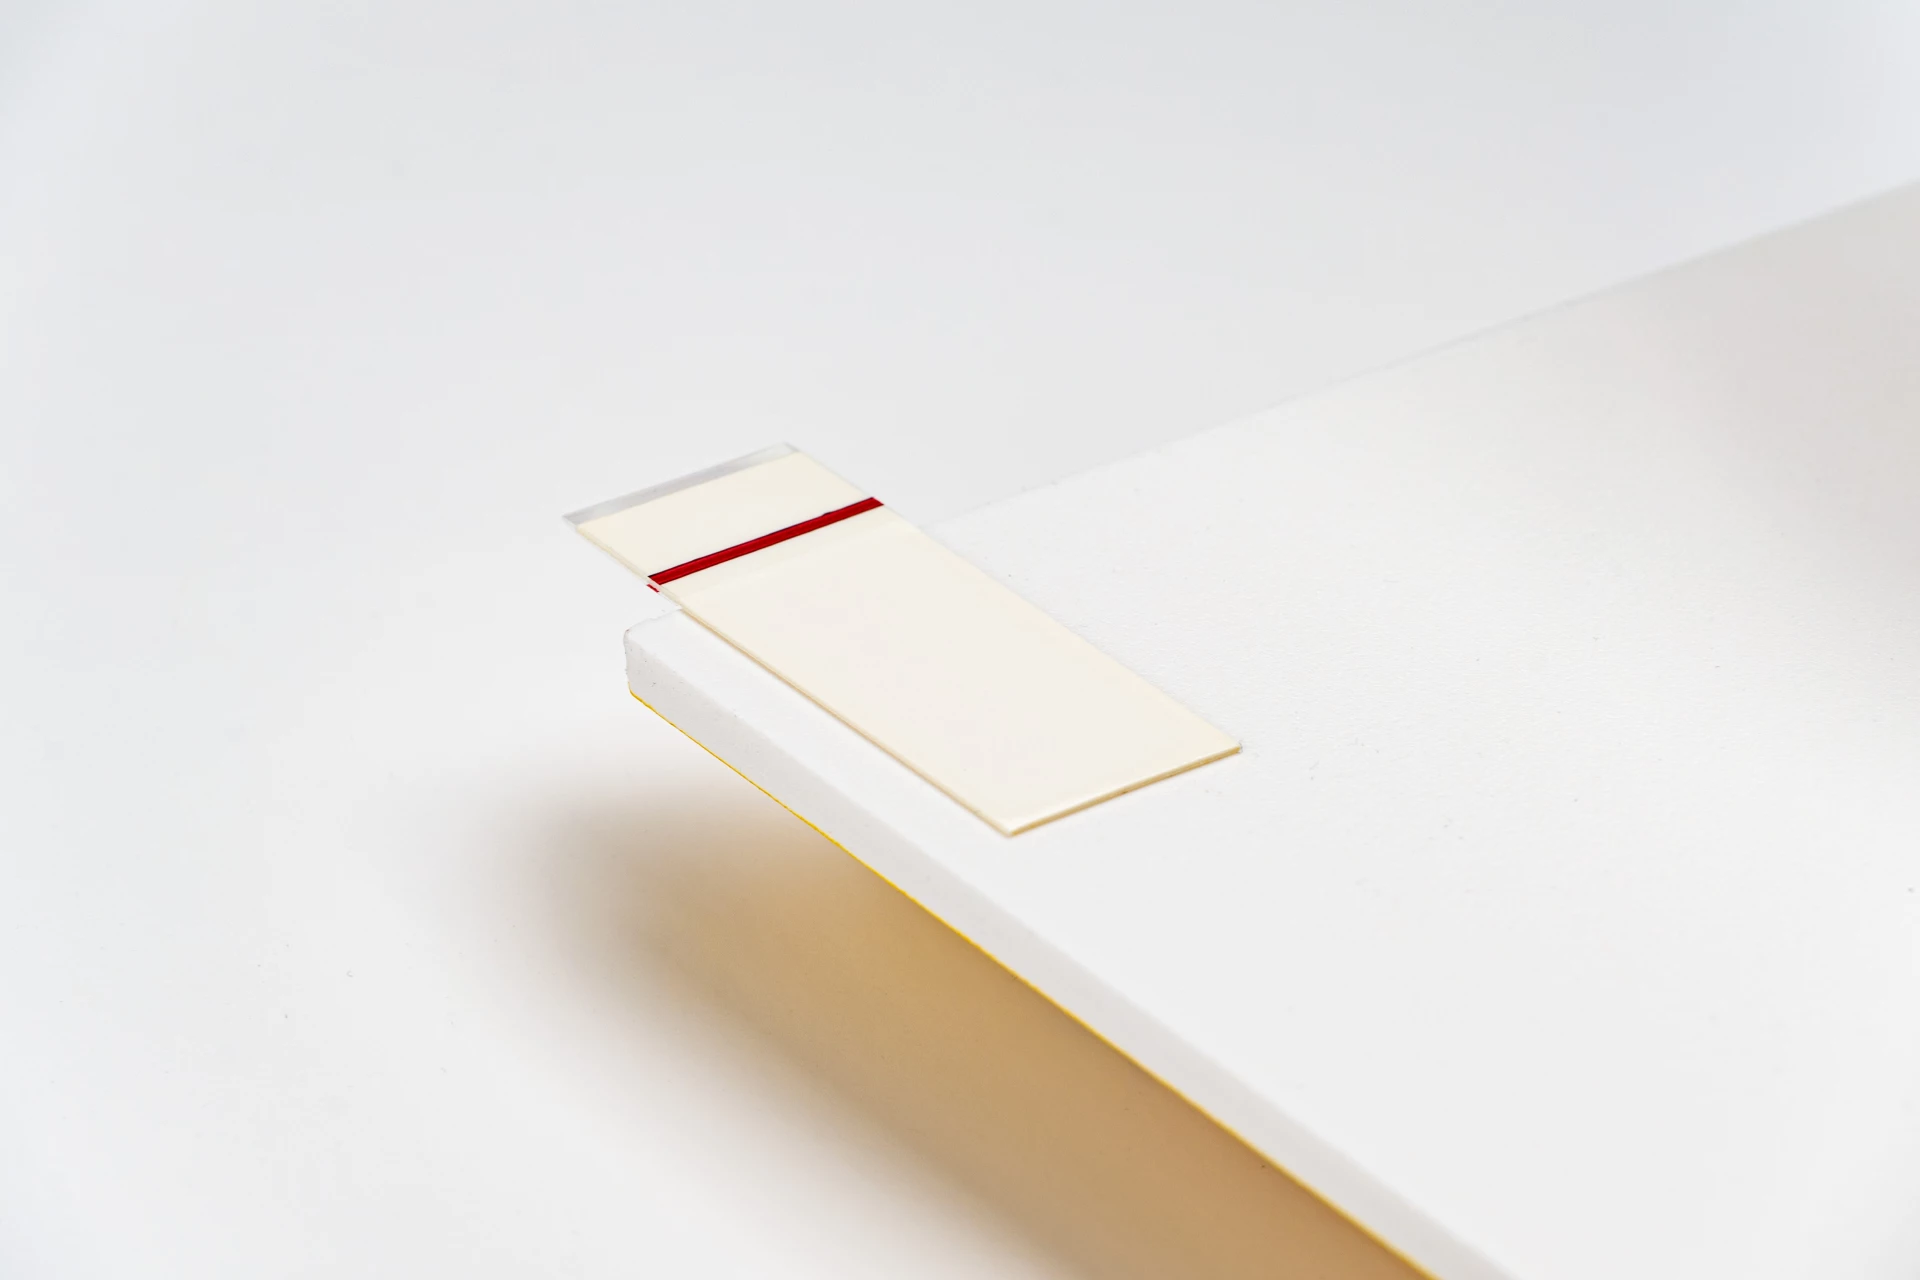 Double-sided tape is suitable for mounting on tiles, glass, wood and most plastics (the smoother, the better the adhesion) with a maximum load of 2kg. For optimal adhesion, it is important that the surface is free of grease and dust. You order them per 4 strips of 2x5cm.
-
suction_holder
Spacer with suction cap 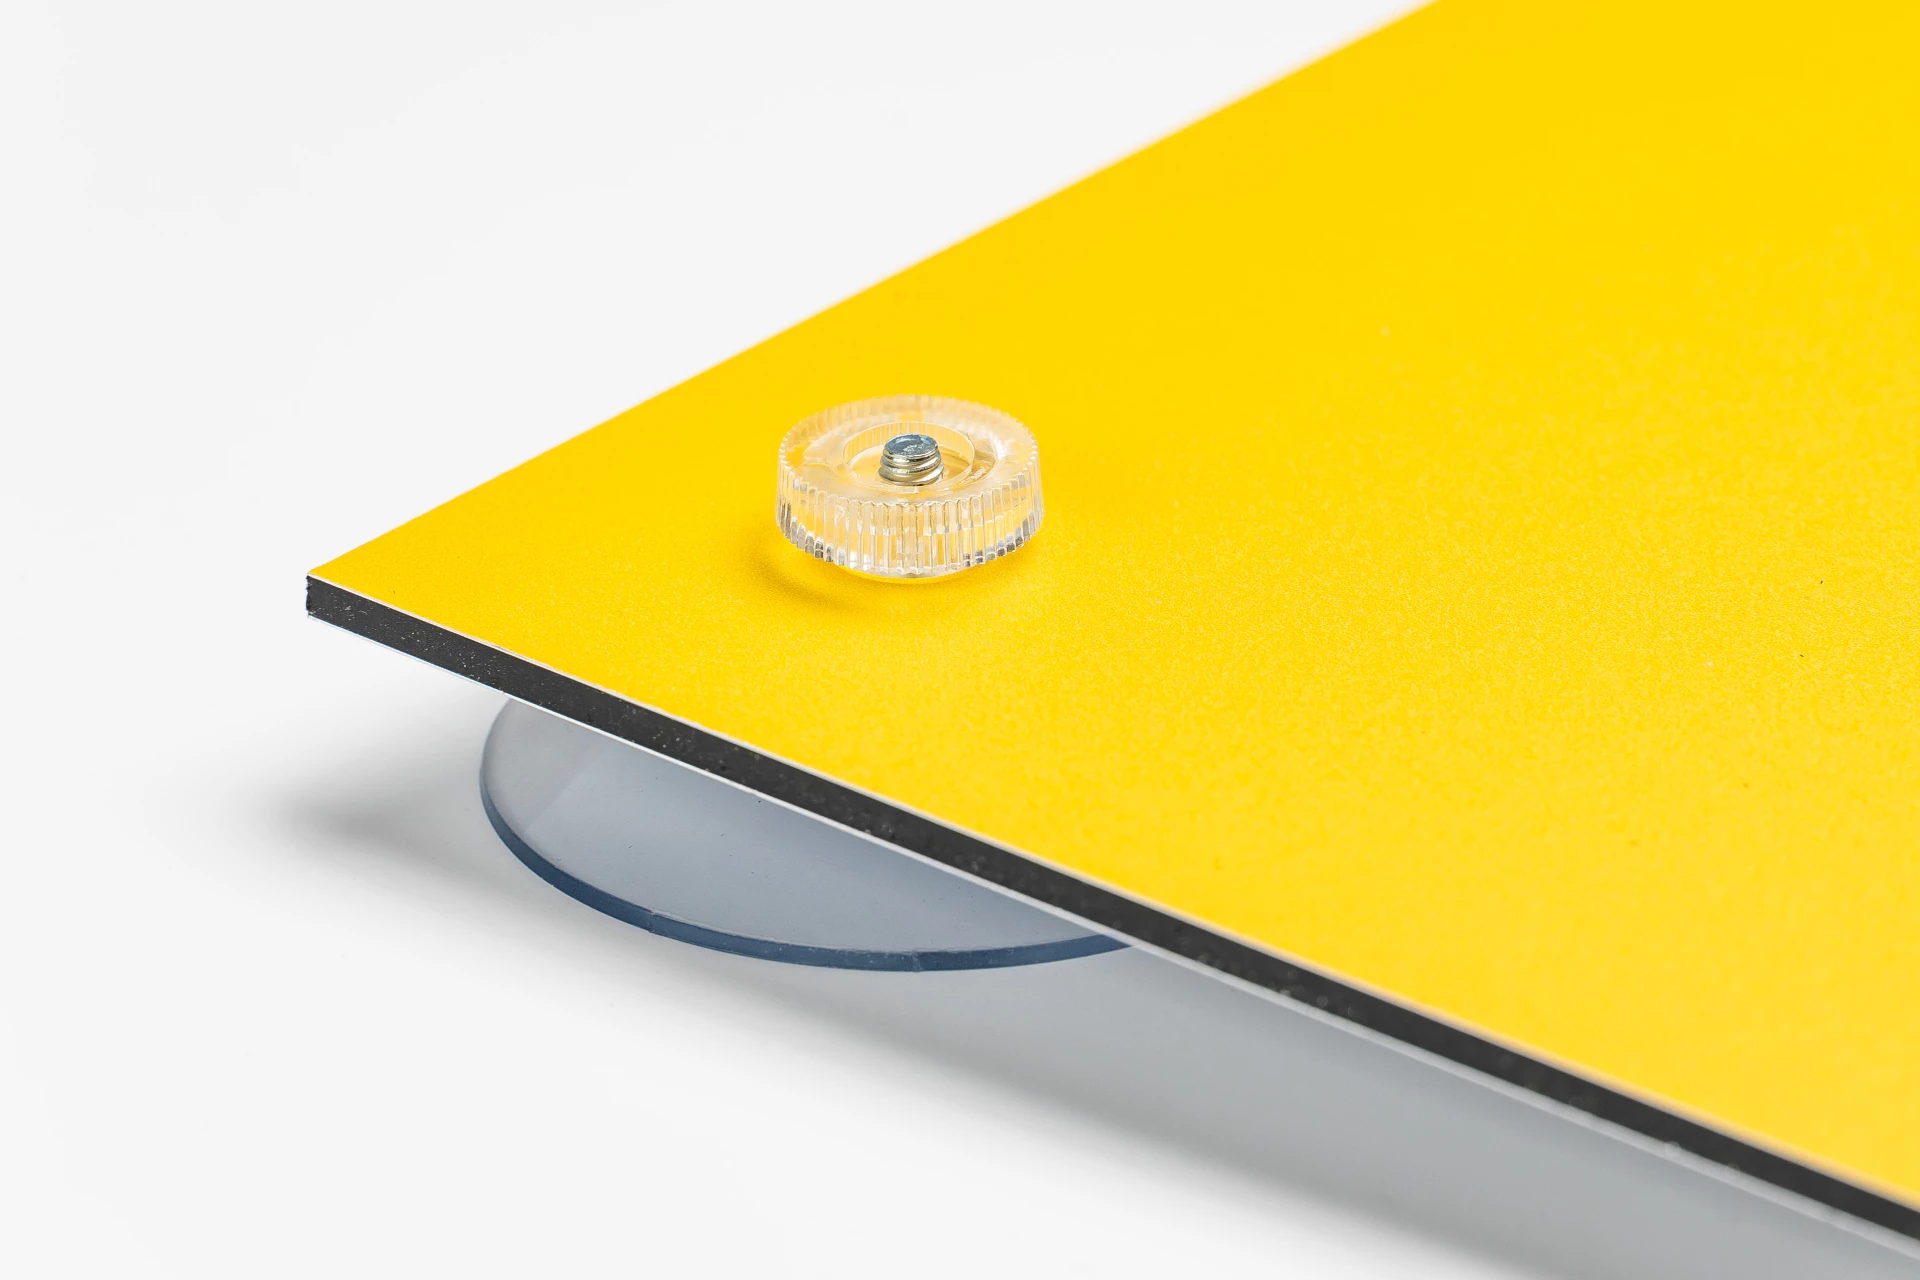 A simple spacer with suction cap to place panels on smooth surfaces (only for indoor use). Panel thickness can be a maximum of 8 mm. The screw-thread of 4 mm diameter is 10 mm long on which a white plastic knurled bolt secures the plate. The suction cup is transparent and has a diameter of 50 mm. You order them per set of 4 pieces (so if you order a quantity of 1 you get 1 bag of 4 spacers). If you order this spacer in the order form of the panel, we will drill the holes (25 mm from the edge), if you do not want holes, you can also order the spacers separately.
-
rvs_spacer
Stainless steel spacer  Luxury stainless steel spacer for indoor and outdoor use. This one has a 15mm head and a 15mm wall clearance. Suitable for panel thicknesses of 2-10mm, the drilled hole is 11mm. They are ordered in sets of 4, including Phillips screws and wall plugs (so if you order one, you'll receive one bag of 4 spacers). If you order this spacer using the sign's order form, we will pre-drill the holes (15mm from the center of the hole to the edge). If you don't want this, you can also order the spacer separately.
-
alu_spacer_black
Black spacer 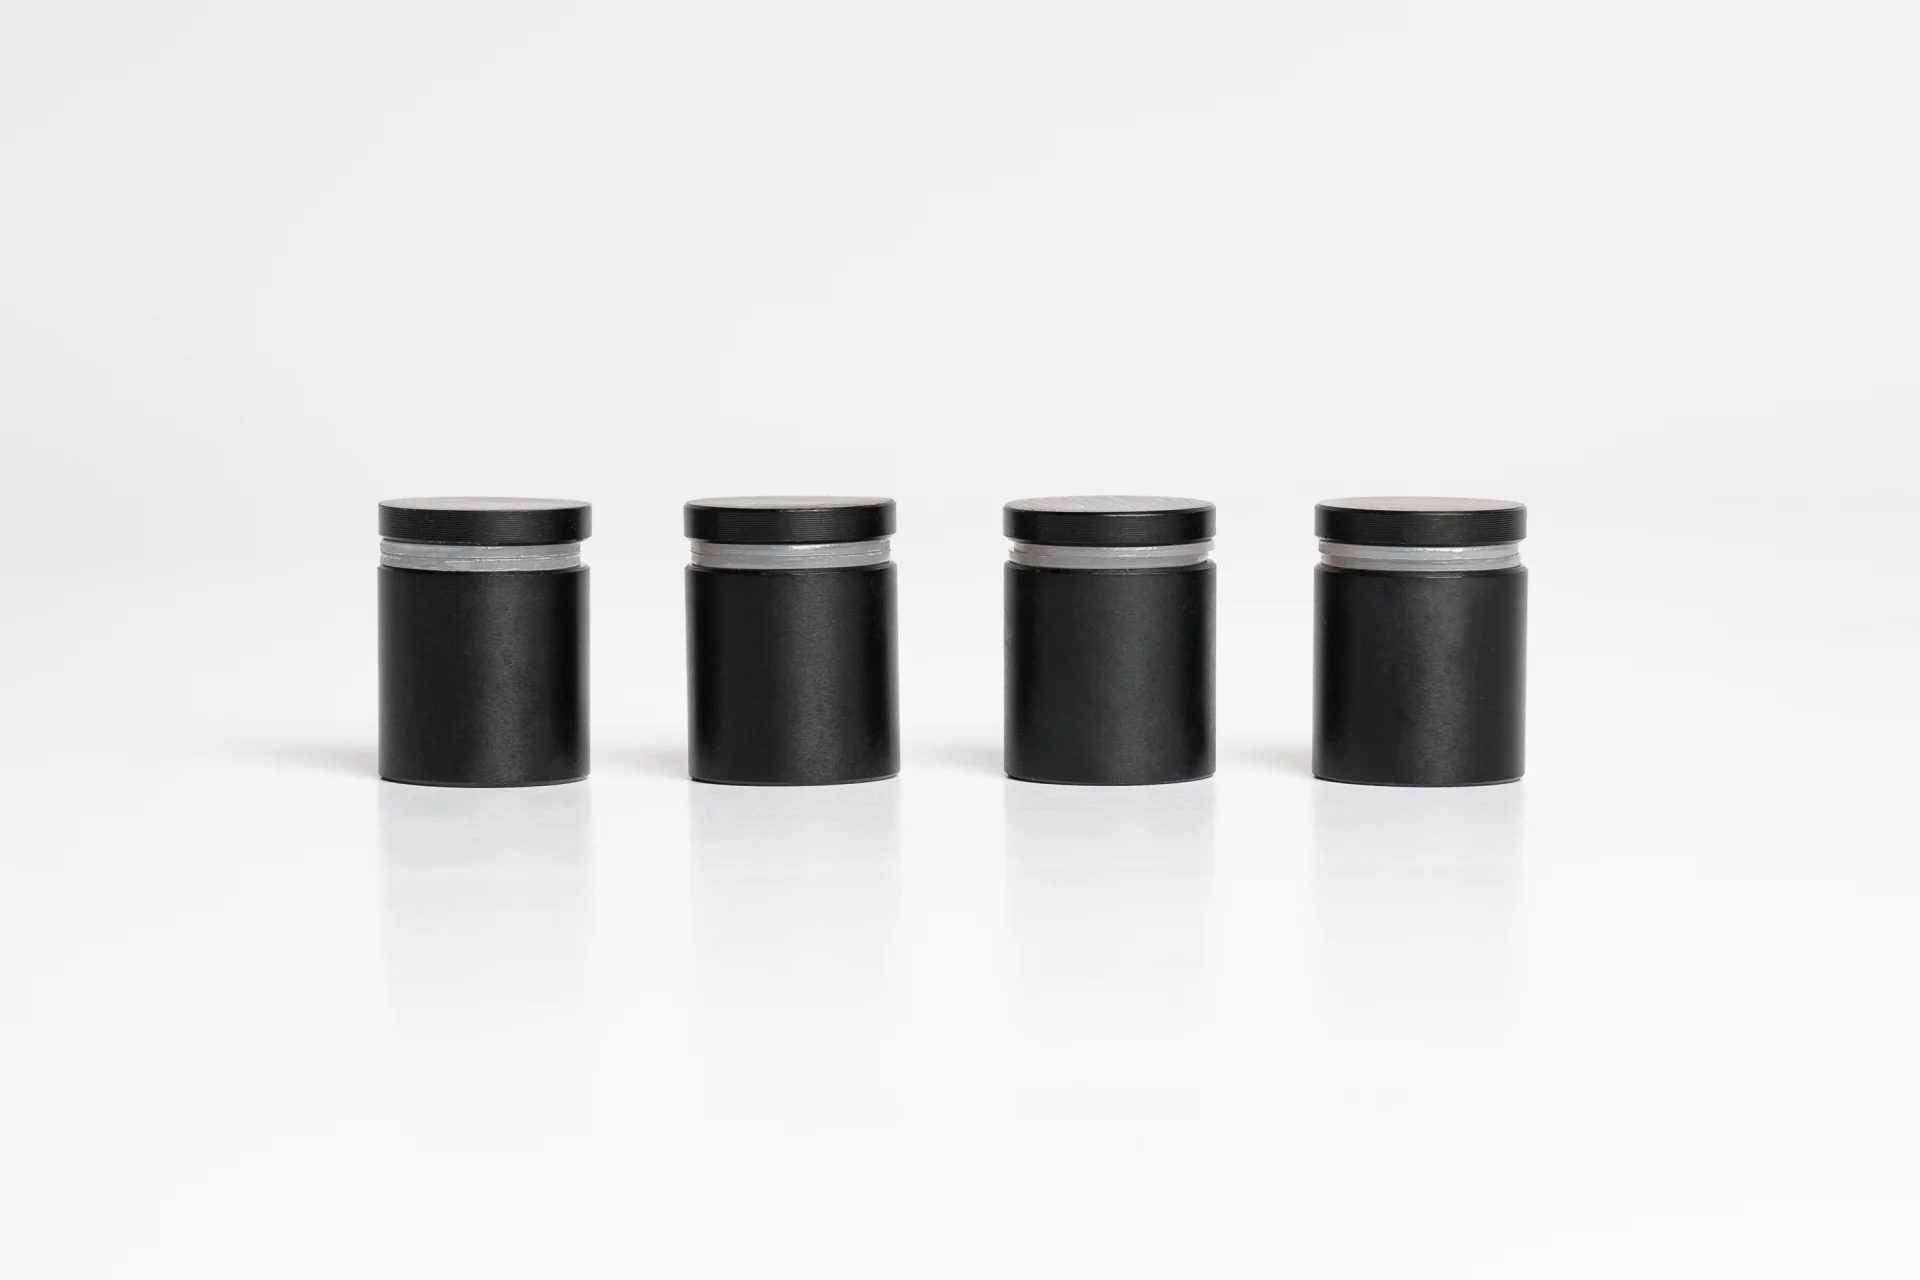 Black spacer suitable for indoor and outdoor use. It has a head diameter of 15 mm and a wall distance of 15 mm. Suitable for panel thicknesses of 2–10 mm, with an 8 mm drill hole. They are sold in sets of 4, including crosshead screws and plugs (so if you order a quantity of 1, you’ll receive 1 bag of 4 spacers). If you order this spacer via the board order form, we will drill the holes (15 mm measured from the center of the hole to the edge). If you prefer, you can also order the spacer separately without drilling.
-
rvs_spacer_side
Side spacer Premium stainless steel spacer suitable for indoor and outdoor use. It has a head diameter of 15 mm and a wall distance of 15 mm. Suitable for panel thicknesses of 2–8 mm and attaches to the side of the panel (no drill hole required). Sold in sets of 4, including crosshead screws and plugs (so if you order a quantity of 1, you’ll receive 1 bag of 4 spacers).
-
metal_plate
Metal mounting plate 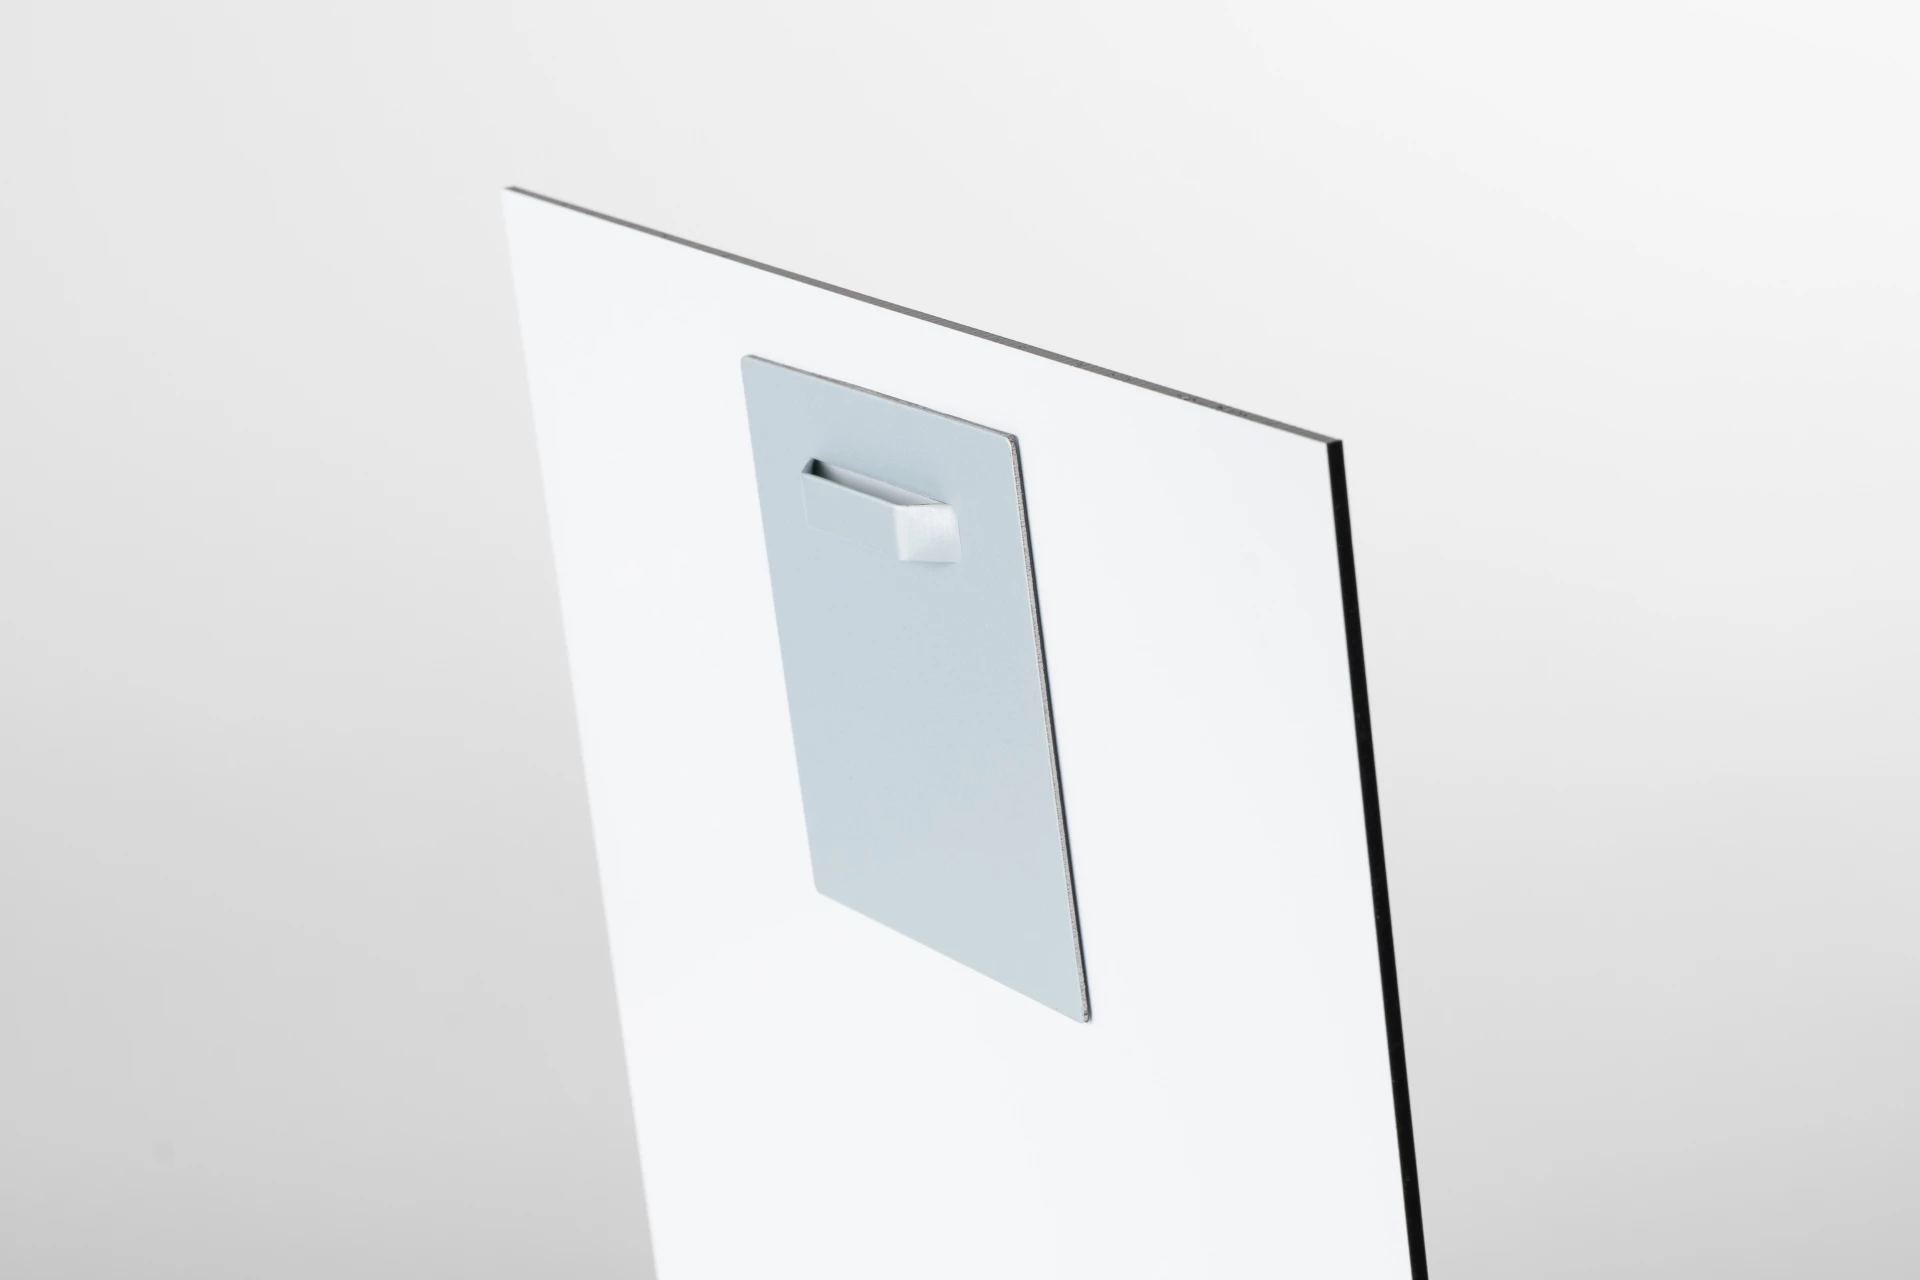 With this mounting plate you can easily and quickly hang your panel thanks to the self-adhesive system. It is suitable for indoor- and outdoor use with a maximum load of 6kg. 1 set consists of one mounting plate (100x100mm), screw 4x30mm, nylon plug 6x30mm, wall hook, 2x self-adhesive transparent spacers, alcohol wipes and instruction.
Note: The plate must remain under pressure for 24 hours before the sign is hung.
-
holes
Equipped with holes 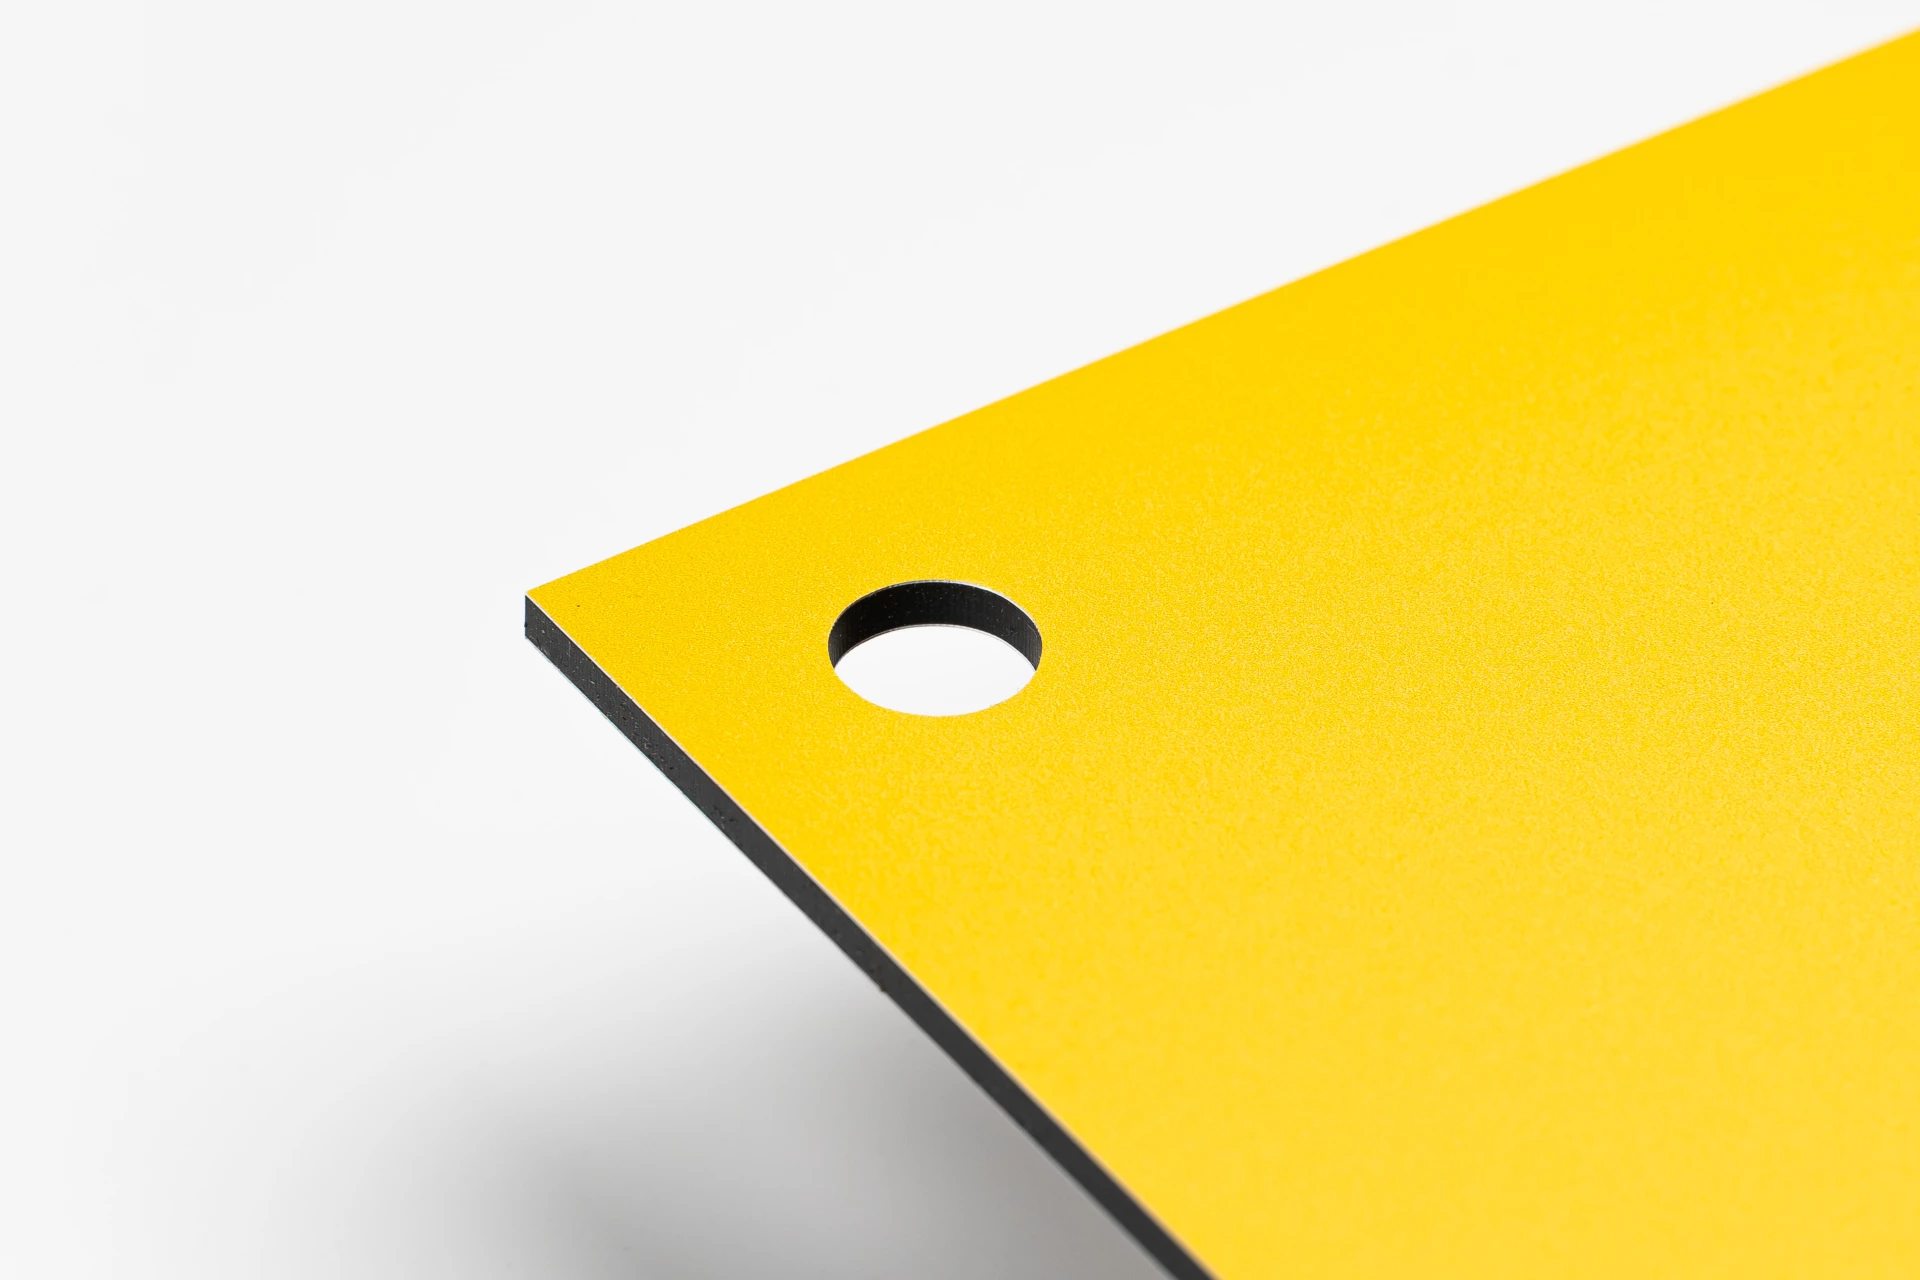 We automatically place holes in your document with a fixed distance and diameter. Check the preview to see whether these holes are not distracting in your design.
4 holes in each corner
We place a drill hole with a diameter of 5 mm in each corner. These holes are located at a distance of 15 mm from the edge, measured from the center of the hole to the edge.
2 holes in the top corner
We place a drill hole with a diameter of 5 mm in the top 2 corners. These are located at a distance of 15mm from the edge (measured from the center of the hole to the edge).
1 hole in the middle (top)
There will be a drill hole in the middle at the top with a diameter of 5mm. This is located at a distance of 15mm from the edge (measured from the center of the hole to the edge).
4 holes in the middle
We place four drill holes in the middle. These holes, with a diameter of 6 mm, are placed horizontally with a mutual distance of 10 cm. They are located 18 mm from the top and bottom edges, measured from the center of the drillhole.
2 holes in the center (horizontal)
We place 2 drill holes horizontally in the center of the board. These holes, with a diameter of 5 mm, are centered and have a mutual distance of 10 cm.
2 holes in the middle (vertical)
We place two vertical drill holes in the center of the board, each with a diameter of 5 mm. These holes are centrally placed above each other and are located 18 mm from the edge. The distance between the drill holes varies depending on the size of the board.
|
String |
|
|
| check_doc |
A boolean |
Boolean |
Optional |
With this option you opt for certainty and we manually check the document. We recommend this option for large orders, presentation materials, complicated documents or if you have doubts about the document. We check various points depending on the selected product: Please note: we perform this check manually and can cause a delay in the delivery time if the file does not meet the delivery conditions, we try to guarantee the delivery times but sometimes this is not (any longer) feasible. For time-critical deliveries we recommend to take this into account. We communicate the result of the file check by email.
|
| size_custom_width |
An integer. |
Int |
Optional |
|
| size_custom_height |
An integer. |
Int |
Optional |
|
| size_custom_diameter |
An integer. |
Int |
Optional |
|
| finishing_printmode |
|
String |
Optional |
|
| cutting_pattern |
-
pattern-arch
Arch 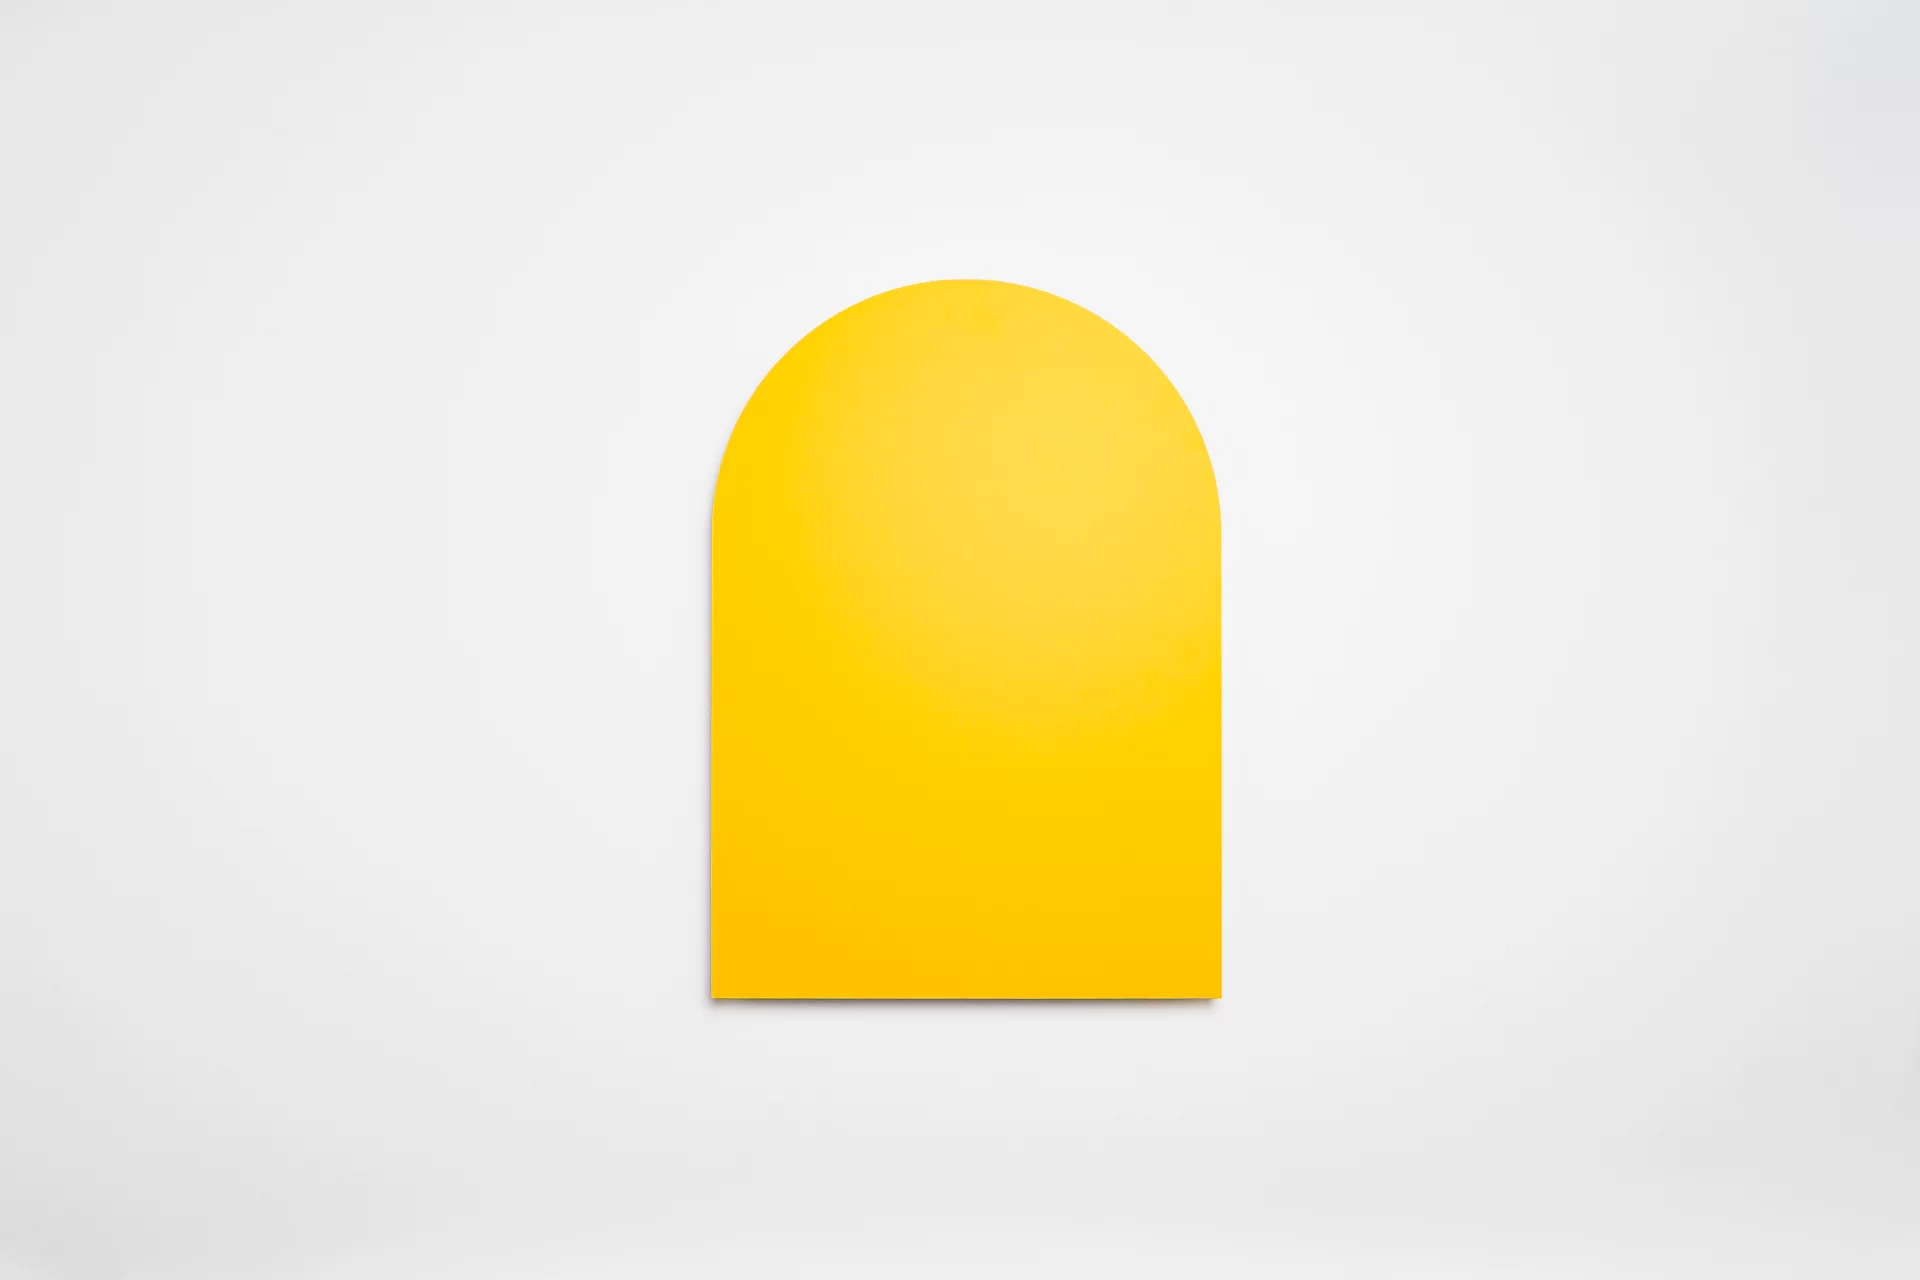 The board is cut into an arch shape at the top. This gives it a striking look, often used for events such as weddings or baby showers. Please check the preview to make sure no information is cut off.
-
pattern-wavy
Wavy 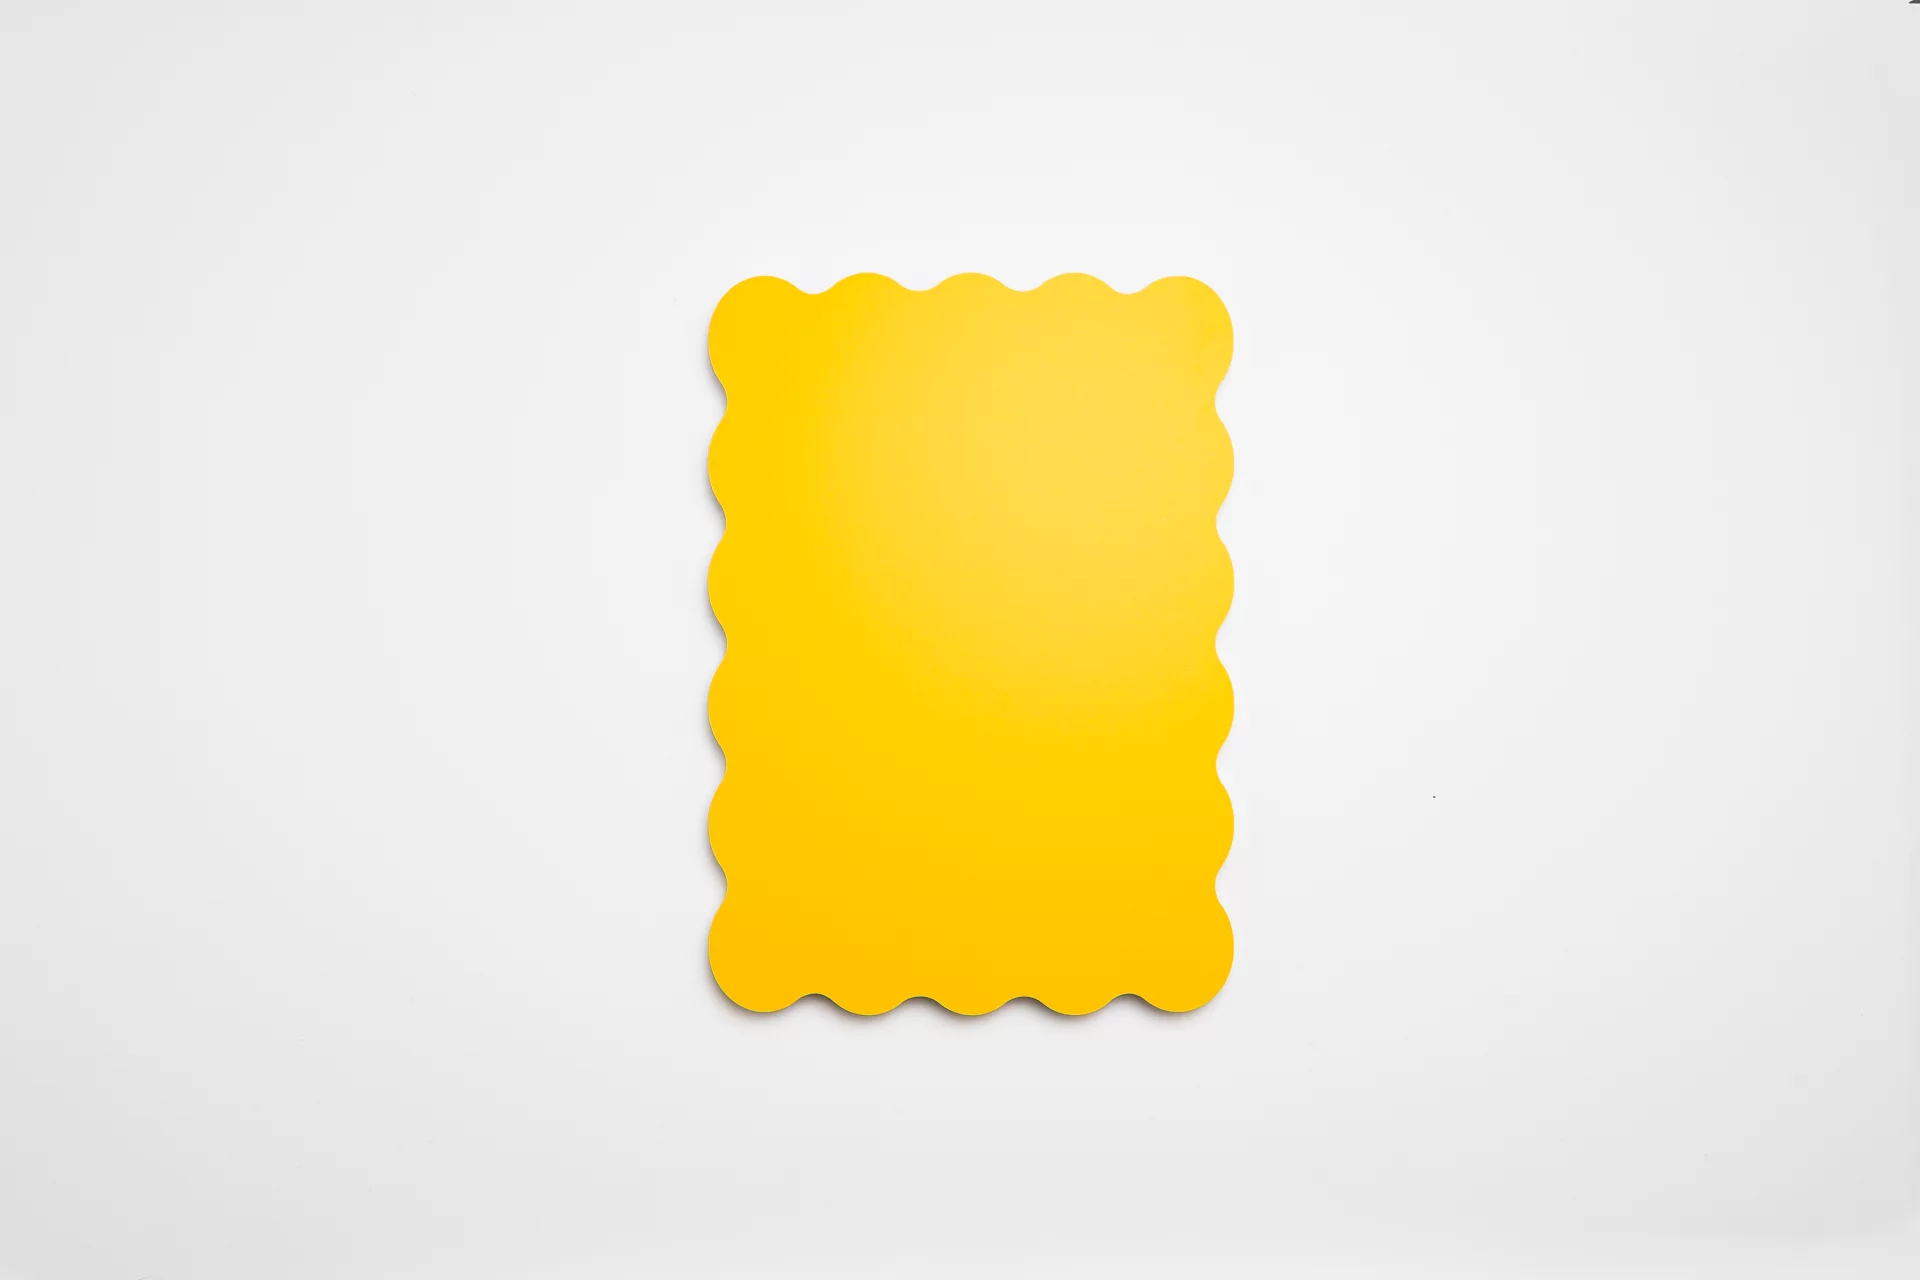 This shape creates a playful and welcoming look thanks to its wavy edges. As a result, the board immediately stands out and feels less formal than a standard rectangular sign. This shape is often used for baby showers, parties, and events.
-
pattern-classic-arch
Classic arch  The classic arch creates a softer and more elegant shape than a standard rectangle. This shape is often used for events, but is also popular for price lists and menus.
|
String |
Optional |
|
| round_corner |
-
none
No round corners 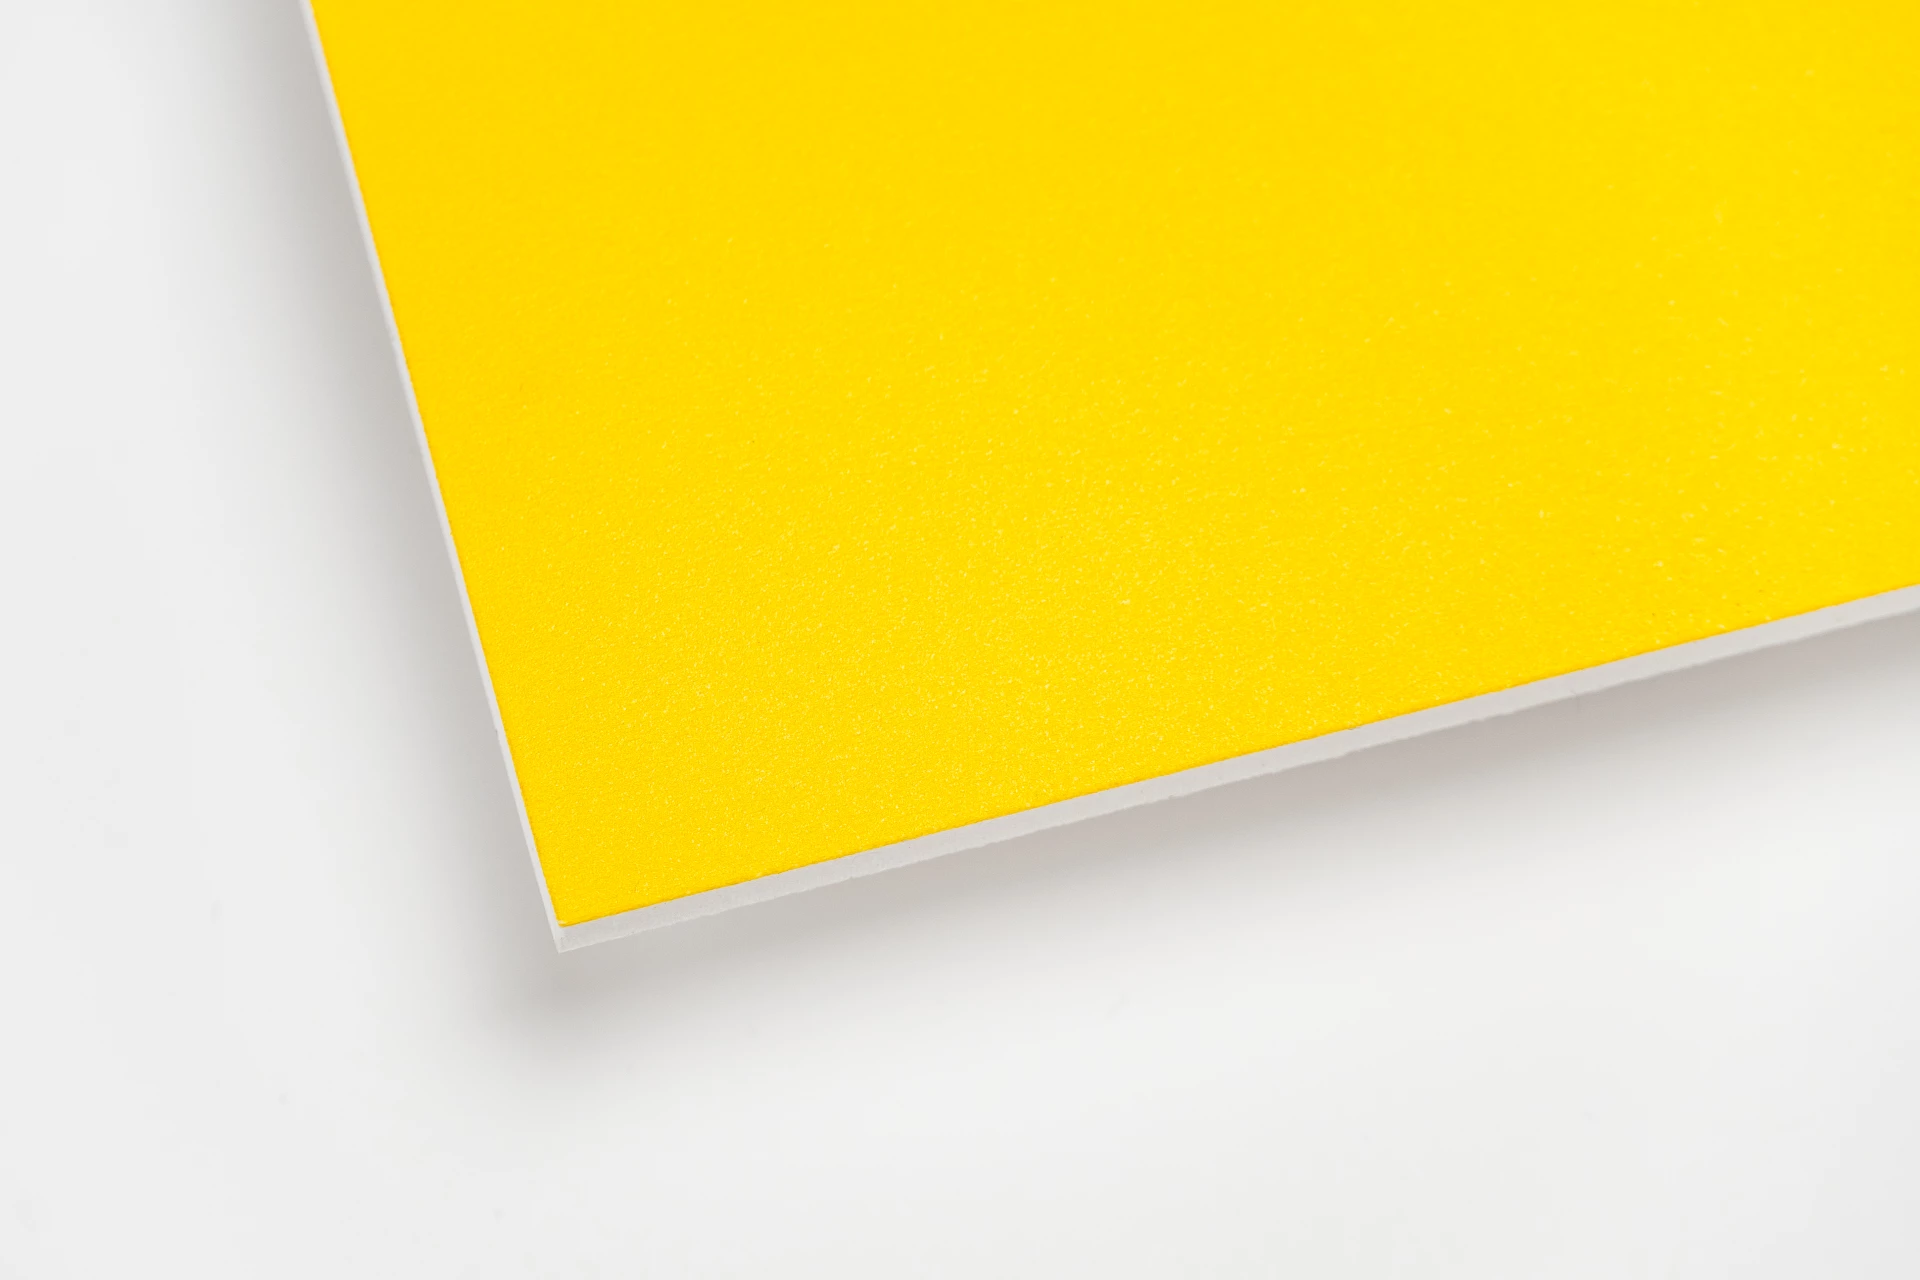
-
3.5
Rounded corner small 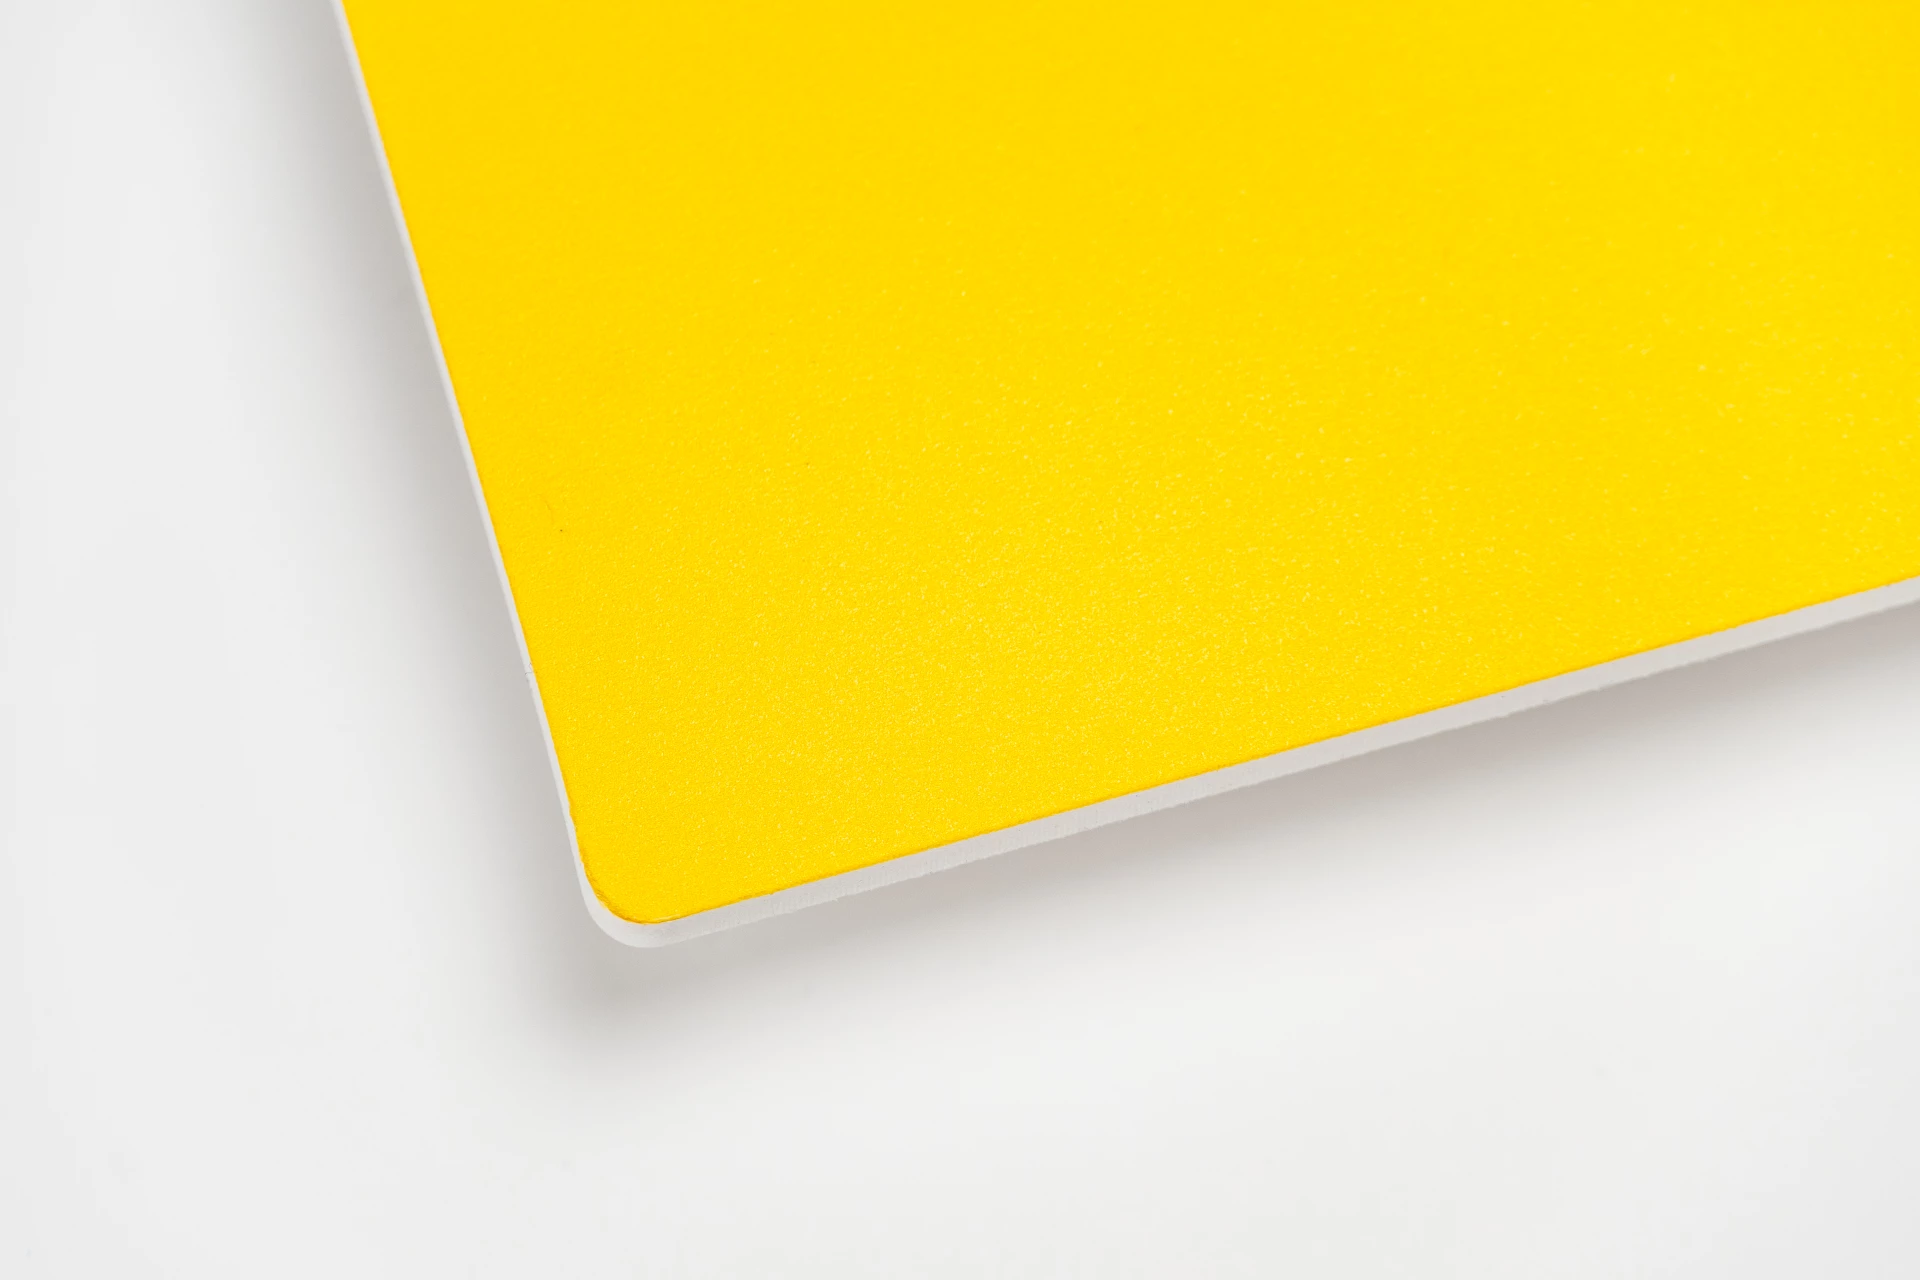 A small rounded corner of ø3,5mm.
-
7
Rounded corner medium 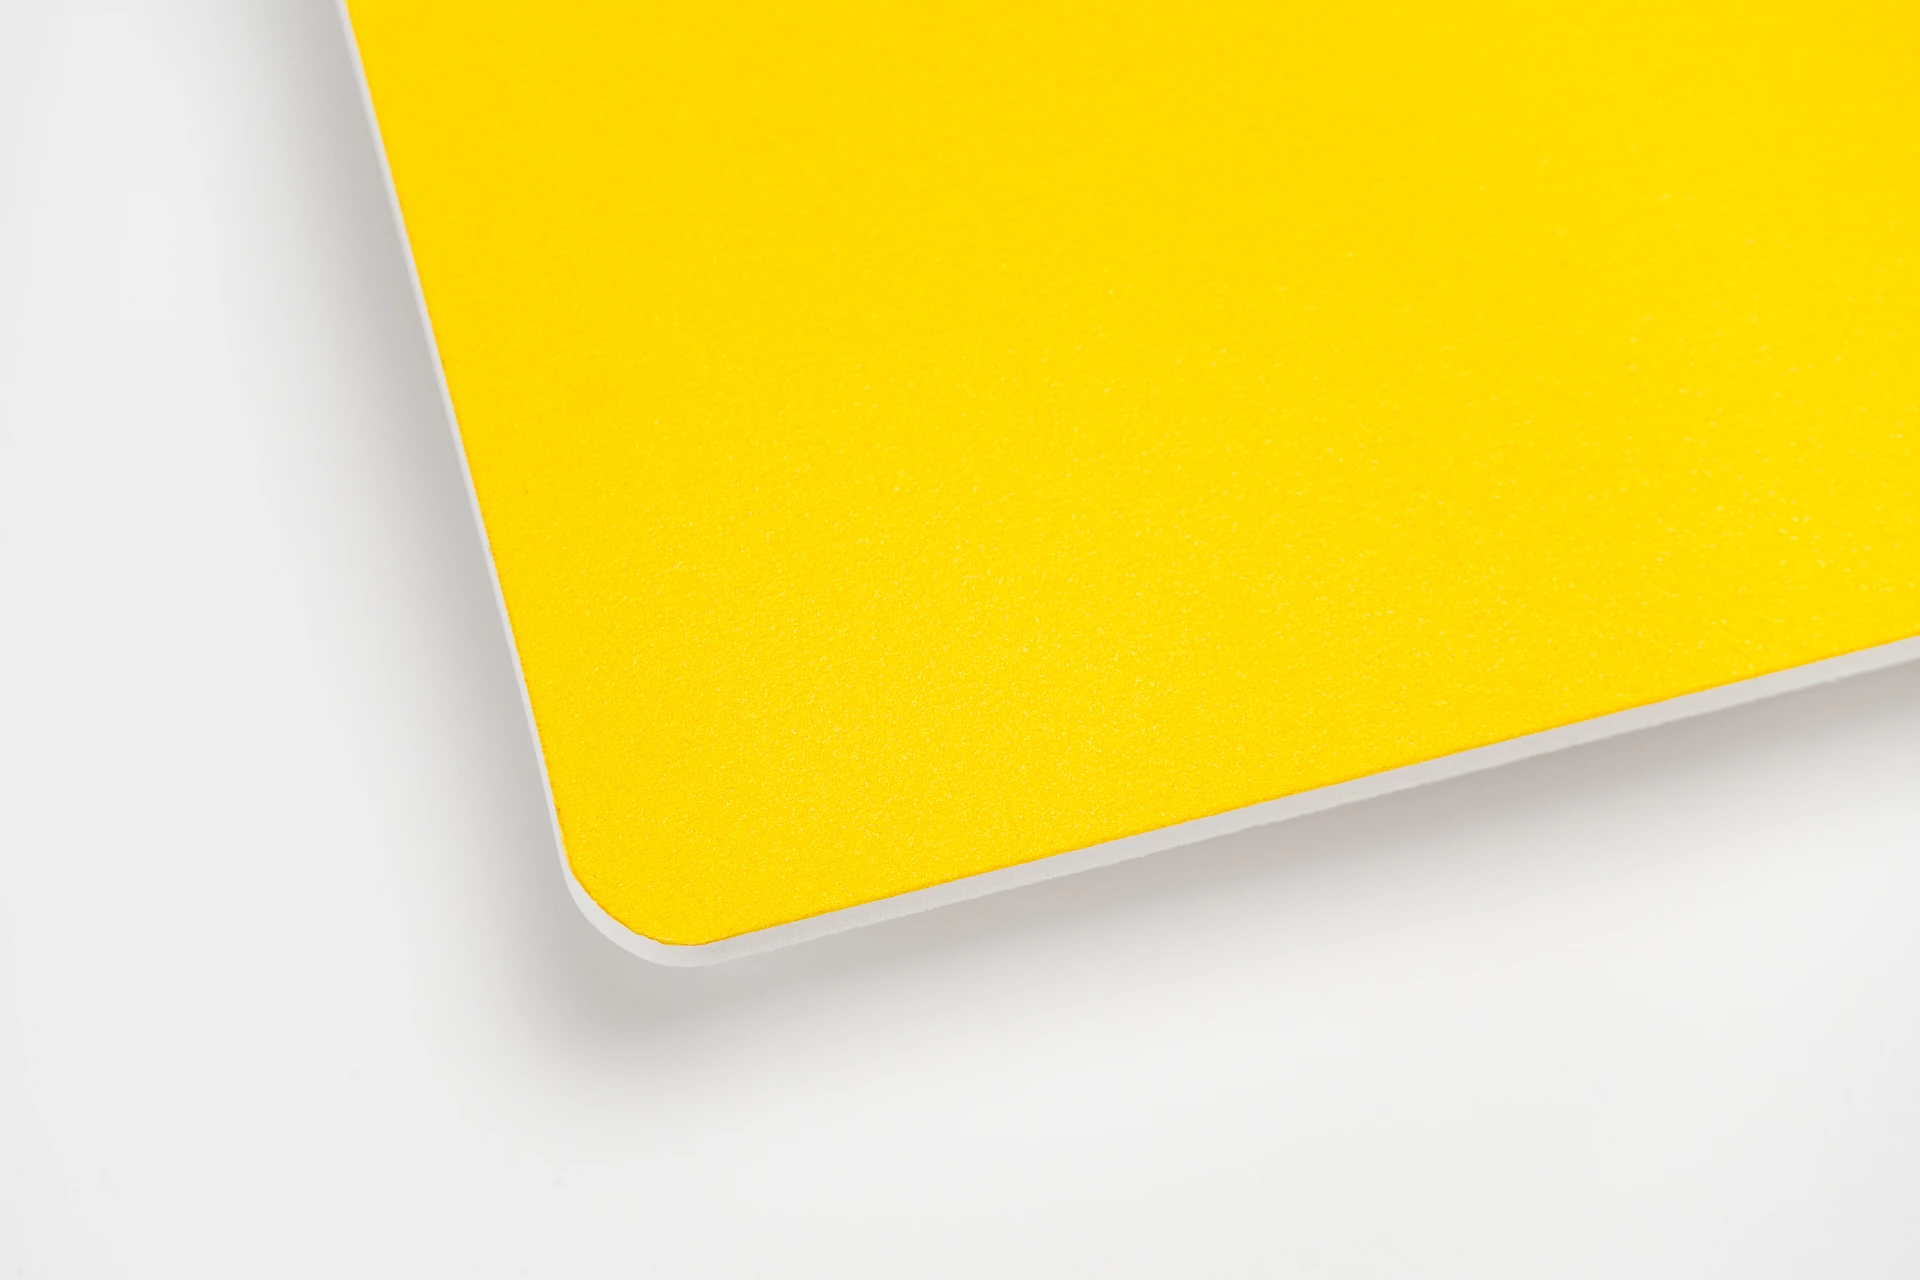 A medium rounded corner of ø7mm.
-
10
Rounded corner large  A large rounded corner of ø9,5mm.
-
20
Rounded corner very large 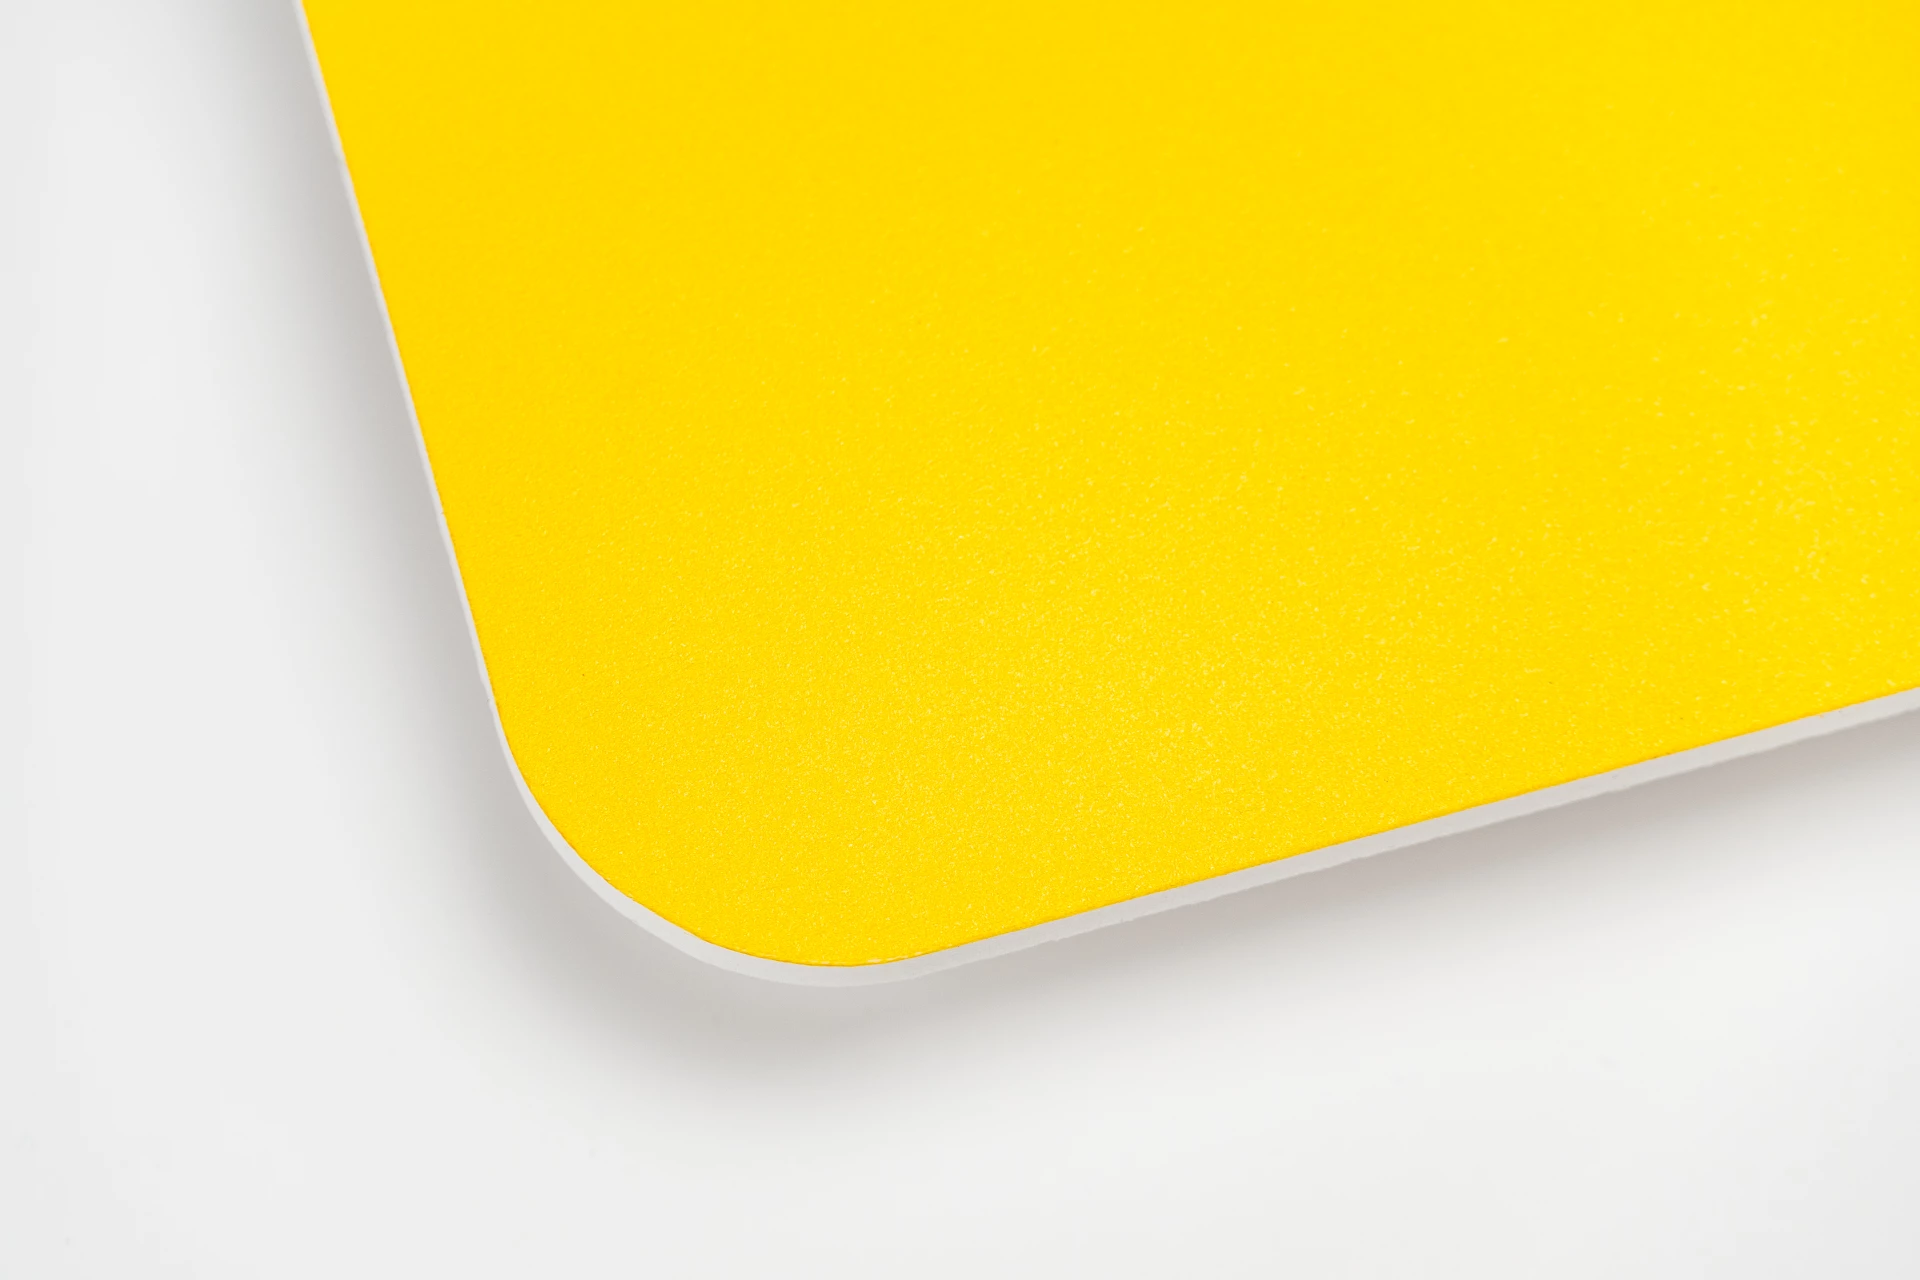 A very large rounded corner of ø20mm.
|
String |
Optional |
|
| accessory_item_holes_layouts |
-
holes_4x5_outside
4 holes: in every corner 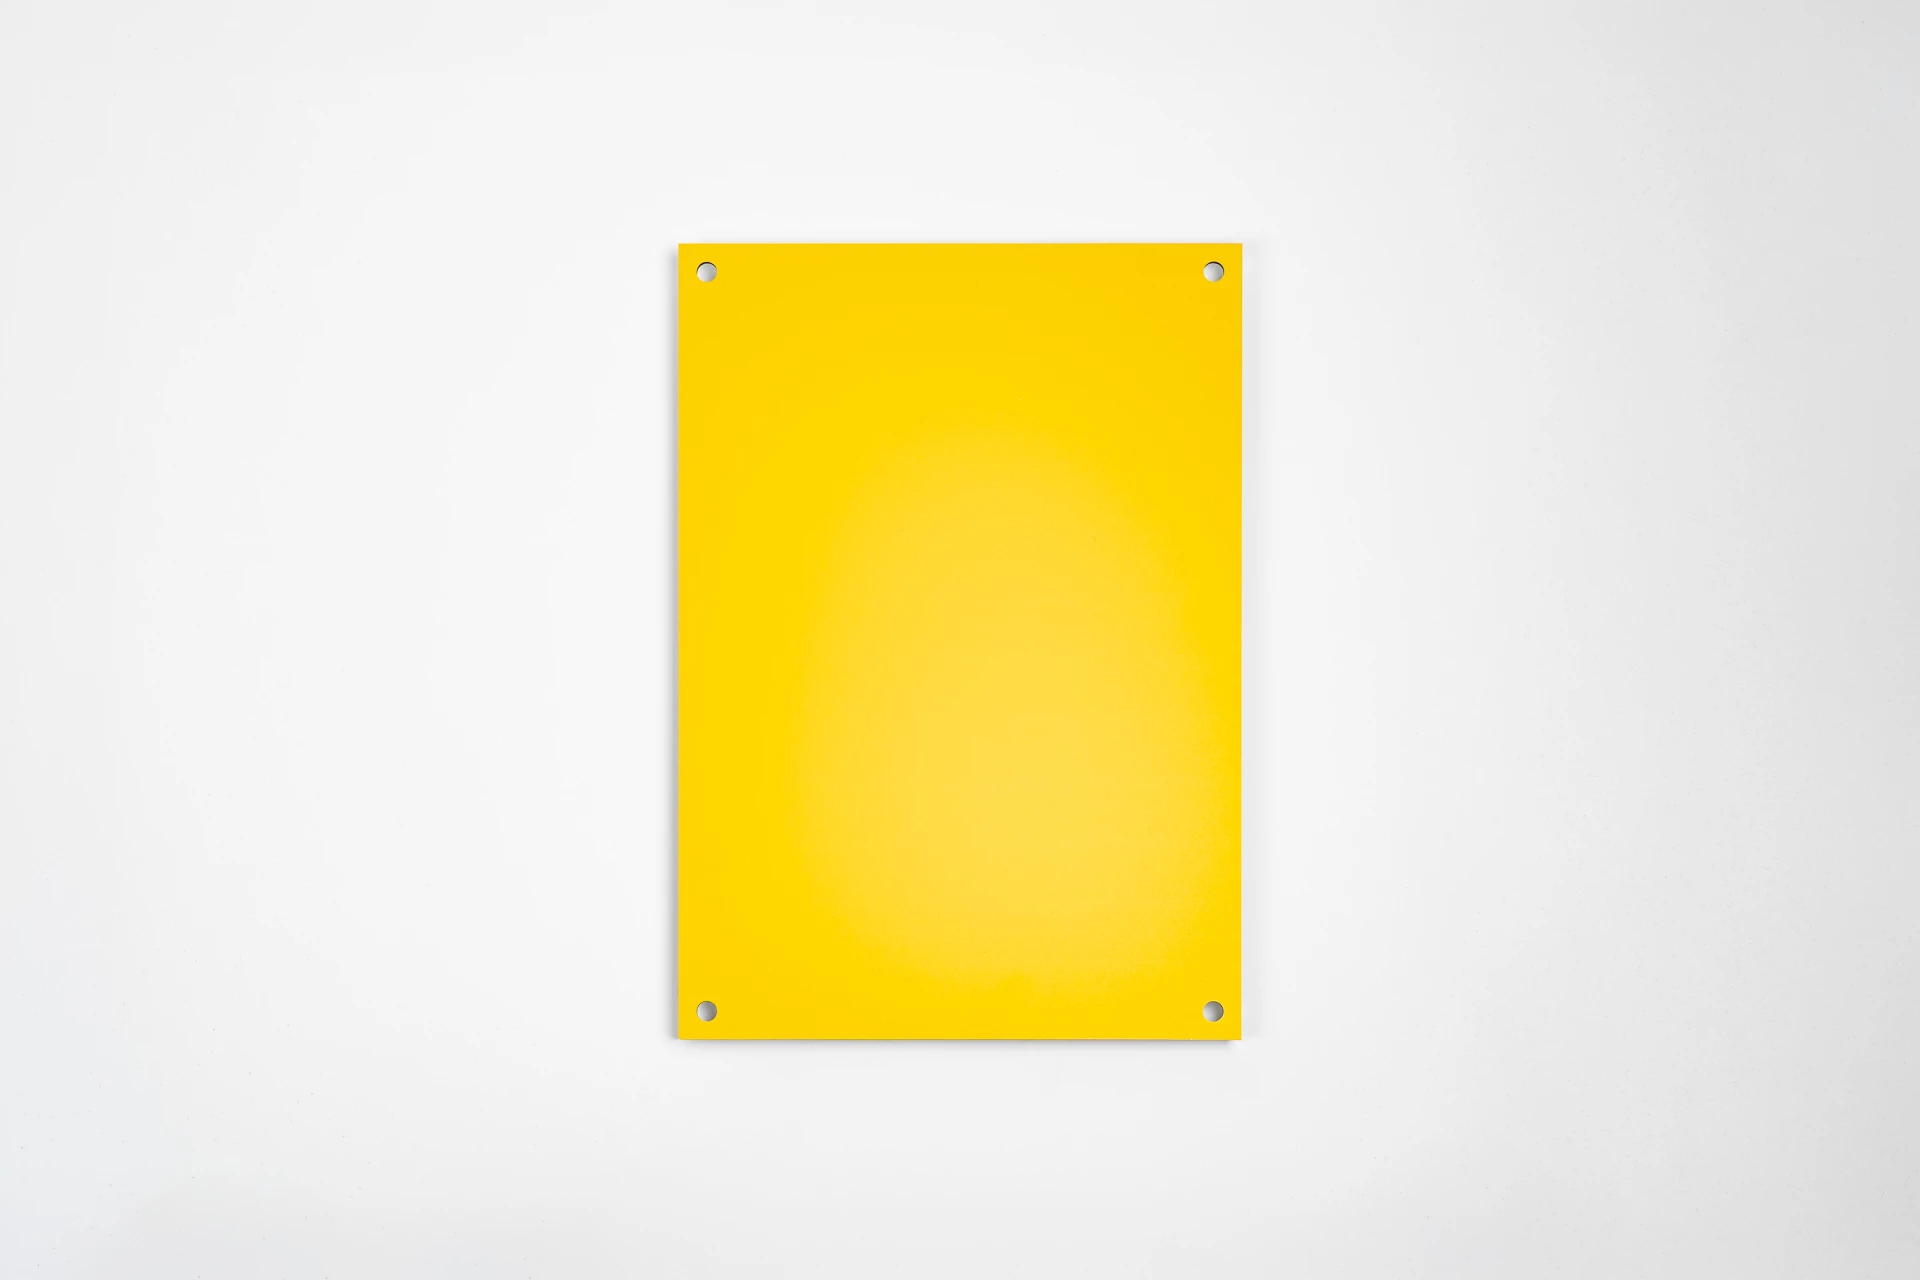 We will place a drill hole with a diameter of 5 mm in each corner. The holes are positioned 15 mm from the edge, measured from the center of the hole to the edge.
-
holes_2x5_outside
2 holes in the top corners  We will place a drill hole with a diameter of 5 mm in each of the two top corners. The holes are positioned 15 mm from the edge (measured from the center of the hole to the edge).
-
holes_1x5_middle
1 hole in the middle  At the top center, a drill hole with a diameter of 5 mm will be placed. This hole is positioned 15 mm from the edge (measured from the center of the hole to the edge).
-
holes_2x5_innerside
2 holes in the center  We will place two horizontal drill holes in the center of the board. These holes have a diameter of 5 mm, are centered, and are spaced 10 cm apart.
-
holes_4x6_innerside
4 holes: in the middle  We will place four drill holes in the center. These holes, each with a diameter of 6 mm, are arranged horizontally with a distance of 10 cm between them. They are positioned 18 mm from the top and bottom edges, measured from the center of the holes.
-
holes_2x6_innerside
2 holes in the middle (vertical)  We will place two vertical drill holes in the center of the board, each with a diameter of 5 mm. The holes are centered above one another and positioned 18 mm from the edge. The distance between the drill holes varies depending on the size of the board.
|
String |
Optional |
|
| comment |
|
String |
Optional |
|